By Greg Chapman
Anyone devoted to the sport of rock climbing, who has been climbing for sometime and strives to improve their performance will have, at sometime or other, had a ‘project’. If you havent this is something you should consider, as a goal is a great way to improve your climbing.
Climbing Project
- "a specific climb at the upper echelons of ones ability, be it previously climbed or a potential new line, to be climbed for pure satisfactions sake."
The very nature of a project invariably means it is likely to be a tough undertaking, which may take you some time and effort, as well as some minor psychological hardship. This being the case I thought I’d scribe a few simple tactics which will hopefully help improve your chances. As this article is aimed at those wishing to attempt climbs at their physical limit, it goes without saying it is essentially aimed at the sport climbing and/or bouldering fraternity, where failure is unlikely to cause injury.
Choosing a Project
Firstly, be realistic. If you want to climb a line that you are going to have to ‘work’ significantly, don’t pick something 6 hours away. Equally, assess your ability level realistically. If you climb f6a, with the greatest will in the world, you are unlikely to be able to climb an f7c and you may end up injuring yourself. Personally, I wouldn’t be attempting to project a climb that was more than 2 or 3 grades harder than what I could generally climb in a single session. This isn’t to say you can’t aspire to climb much harder, but this recommendation is made under the presumption you want to succeed within a reasonable timescale and avoid possible injury.
Preparation
So you’ve decided on your choice of project and you’re all set to get stuck in, the next step is to consider your preparation.
Beta aggregation
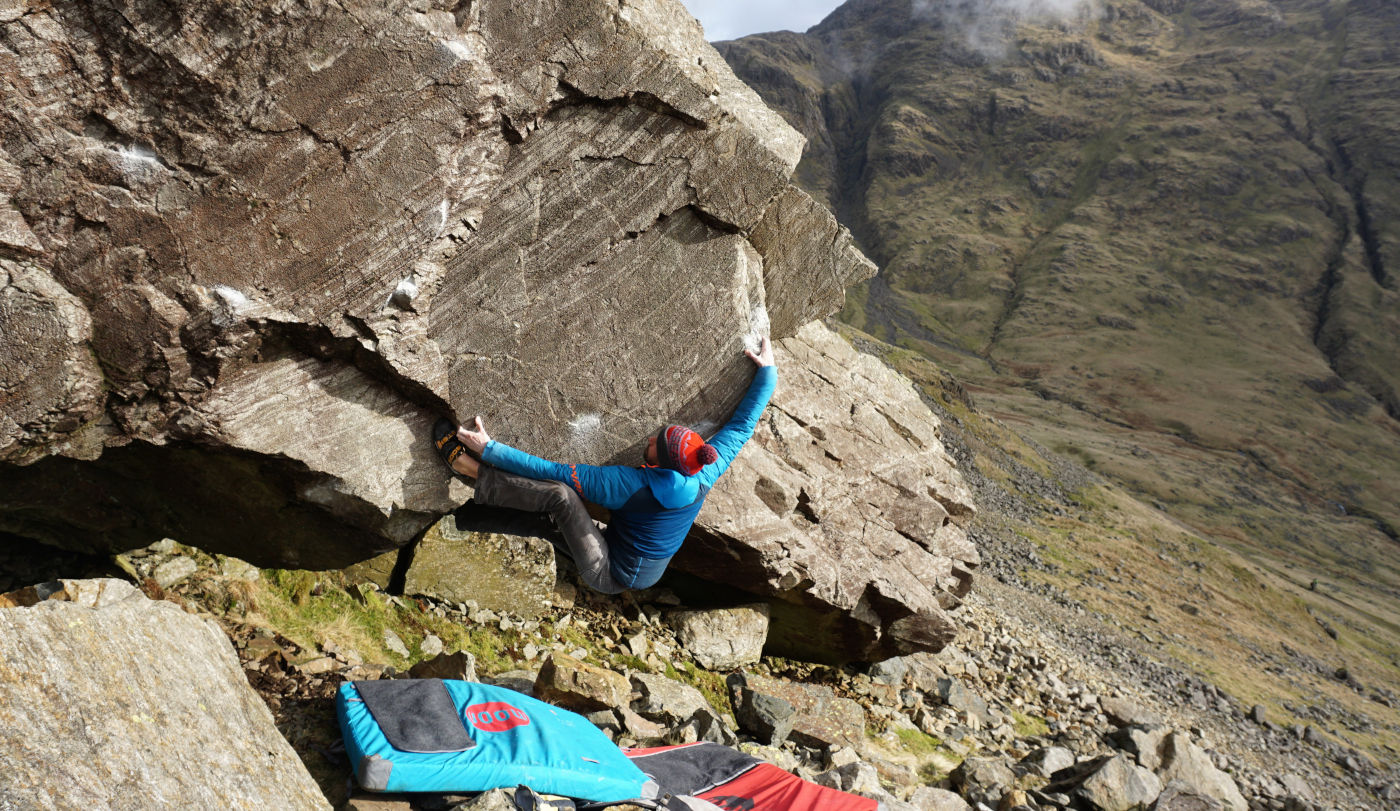
If the problem or route you wish to climb is an established line you may be able to source a video of someone climbing it or utilise action photographs for sequence clues. A word of caution regarding using images for beta: having been out on a few climbing photo shoots, for articles etc., photographer’s often ask the subject to pose in inaccurate (but aesthetically pleasing) positions. Obviously the best source of beta is if you know someone who has climbed the object of your desire. Remember though, don’t be blinkered into thinking there is only one method – there are often multiple ways to skin a route. This forum on UKBouldering.com is useful for seeking beta on specific lines.When to try

Ask nearly anyone who climbs a lot, and likely as not they’ll tell you they feel at their best (strongest) on days off work, rather than during after work sessions. If at all possible, utilise this fact and organise yourself so that you are fresh and ready for a big redpoint attempt on your days off work. Also, work out logistical points which may assist you in a successful send. Knowing facts like which way the climb faces will allow you to ascertain when it is in the sun. As less sun generally equals lower temperatures and thus better friction (humidity aside), try to work your sessions around this information.
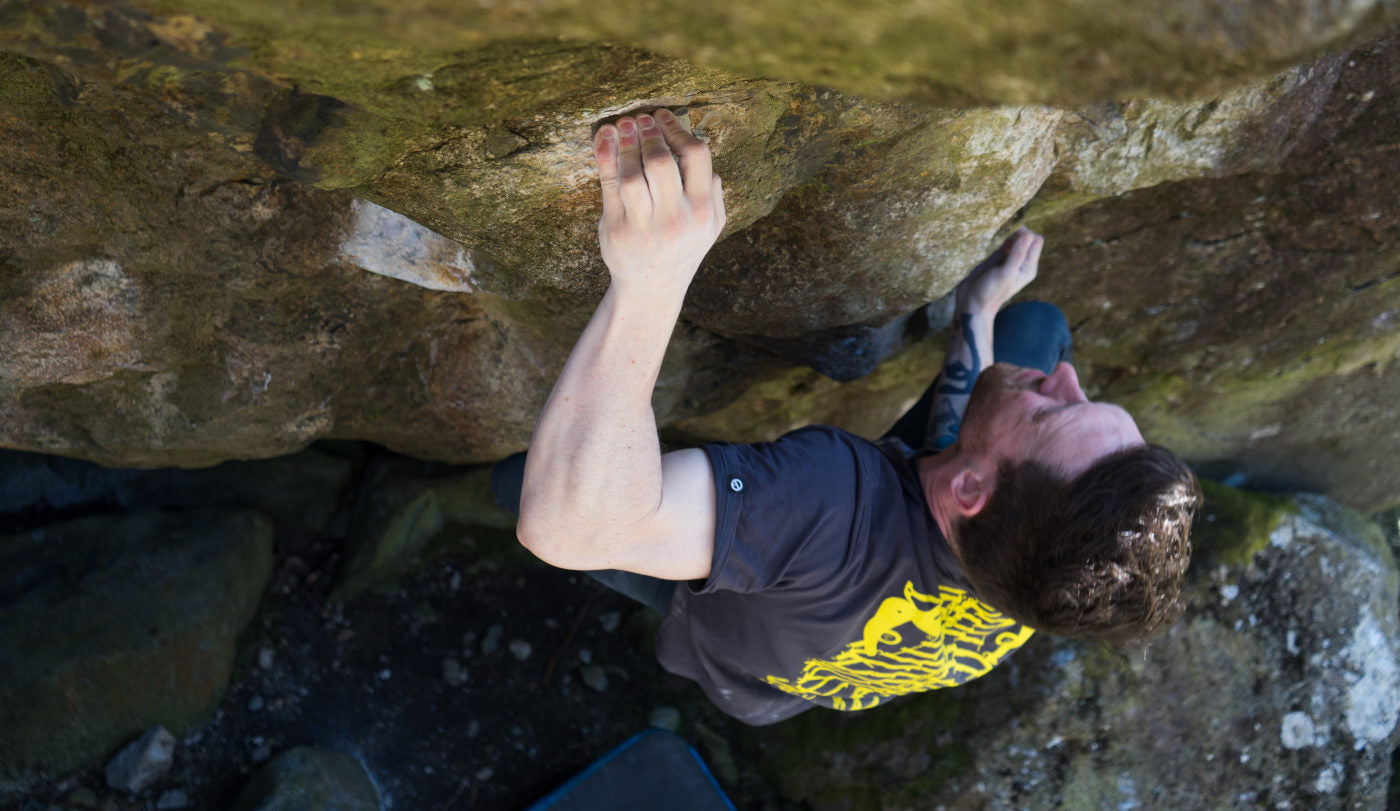
Photo inset: © Pete O'Donovan.
Redpoint
- "in sport climbing and bouldering, redpointing is free-climbing a route after having practiced the route beforehand. The English term "redpoint" is a loan translation of the German Rotpunkt (point of red) coined by Kurt Albert in the mid-1970s."
Sleep
This is an area where many people miss a trick. Sleep is massively important when it comes to performing at your best in any sport, whether it’s for achieving a specific undertaking and/or training for that undertaking. Get plenty of sleep and you will be able to climb/train better for longer. 8 hours is the minimum requirement if you intend to train and climb regularly around your working week.
Conditions Check
So it’s your day off, you’re ‘jacked-up’ on psyche and raring to go, but whoa there chief! Have you checked the weather or looked outside? Before you head out, be realistic about your chances, bear in mind the weather (humidity, breeze, temperature, sunshine etc.). You may be better off training or going elsewhere than trashing yourself in a battle with ‘The Beast’, and coming away demoralised. Obviously this is a subjective/personal decision but one worth consideration before committing your session.
Working the Climb
You’ve rocked up to the crag, it’s fresh and breezy, you’re well rested and fit as the proverbial butcher’s dog; it’s time to consider your approach to working your stoney new mistress.
Climbing on your own or as a group
This is obviously a personal thing. Many people thrive on the energy given off by others, whilst some struggle to focus on the task in hand or even feel pressured when in a group. Other than the previously stated for and against arguments, climbing on your own can also be beneficial as the holds are seeing less action and thus stay in better condition, however it can prove harder to discipline yourself into resting properly when climbing as an individual.
Warming up
 Warming up sufficiently is another vital undertaking before getting stuck in to any piece of climbing which is at your limit. This will help prevent injury and for many (particularly those over 30) allow you to perform at a higher level from the word go. Stretch even before touching the rock, particularly focusing on parts of the anatomy which will be tested on route. For example, if your project involves lots of hard, high heel hooking make sure your hamstrings are stretched, supple and ready to go before mounting a serious charge. Try to warm up on an easier but accurate representation of the end game – there’s no point using a steep thrutchy jug pull as a warm up if your aim is a fingery wall climb. If your project is long and has easier sections which are accessible, many people will warm up on the project itself, but don’t be too hasty in getting on the harder sections or going for the red point. Another tip I have found useful, is that of protecting crucial areas with tape whilst acclimatising to the project. For example, if you are using a very abrasive hold or gnarly finger jam, why not work the line taped up, even if it feels harder, until you feel sufficiently primed to for the red point, at which point take the tape off (you may have to allow your skin a chance to firm up for 10 minutes or so after removing the tape).
Flight Check
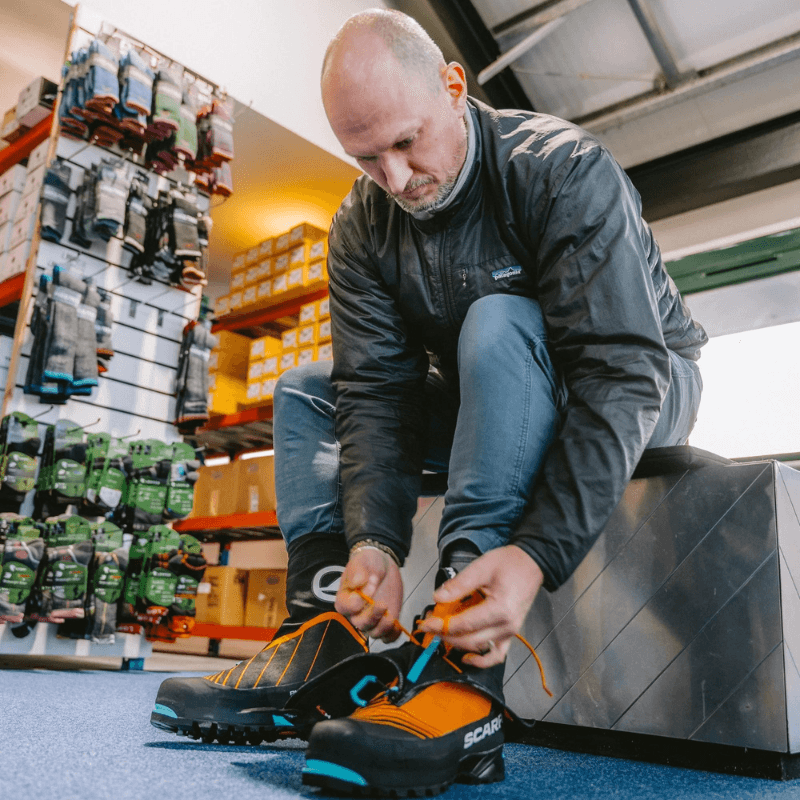
You’re warmed up and ready to get stuck in, time for a final check - remember this is at your limit every little detail can prove crucial. I’m always surprised how many people you see at the crag trying climbs which they are obviously finding hard, seemingly unaware that their boots are wet/muddy and/or their laces/Velcro fasteners are coming undone. Make sure your shoes are well fastened and always carry an old towel so you can dry and clean the soles of your footwear before takeoff. Finally, check for minor skin damage, both initially and between attempts. If you find any small ‘rucks’ smooth with an emery board or fine grained sandpaper. Although this sounds counter-intuitive, by keeping the surface of your skin smooth you reduce the chances of catching damaged or roughened skin on crystals and minute edges, thus improving the longevity of your climbing sessions. Obviously, don’t be too vigorous when sanding your skin.
Be Professional

If at all possible make sure you can do every part of the climb as smoothly and efficiently as possible. A classic mistake is to briefly (poorly) work the easier sections of a project – in many cases campusing or slapping through moves inefficiently, as they feel fine in isolation – then neglecting these moves (sometimes for a number of sessions) whilst you work the crux sequence(s). The chickens then come home to roost when you discover, on a redpoint attempt, that once you’ve cruised through the well worked crux you are too tired to once again plough through the (what you thought were) easier sections and a redpoint attempt and the accompanying energy used has gone down the pan.
You’re no horse, so ditch the blinkers!
In combination with the previous paragraph, always keep an open mind when it comes to modifying your sequence: many sessions have been wasted going down blind alleys. Recognising when another sequence may be called for comes easier the more experience you gain, however the simple act of questioning your method may just help you to see things in a different light. Remember, even if you’ve seen someone else climb your desired project a certain way, chances are there are at least small refinements and modifications ('micro beta') which can be made to tailor the beta to suit your size, stature and best attributes - maybe everyone uses a sloper on the crux, but there’s a tiny edge next to said sloper and you’re a crimping demon. Even fractional tweaks in the way we grip the same hold can ‘tune it’ in to your hands optimum biomechanics.
Resting
Another important but often neglected part of sieging a climb is the ability to rest properly. Obviously it depends a lot on the style and length of the climb, but as a rule if the climb is in any way physically demanding take at least 5 minutes rest between attempts, and if it is a route or longer boulder problem be looking at between 10 and 25 minutes. A good tip for maintaining discipline is to take off your rock shoes, put on your shoes, and have a drink/a bit of food and even take a wander around the crag.
Food
 The single best piece of advice I could give when it comes to eating during a sieging session (or even just out for a day's climbing) is: small amounts regularly, combined with a quality carbo-energy drink (High 5, SIS etc.) and water. The last thing you want to be doing is climbing until you’re utterly drained and then eating a foot-long tuna and mayo roll with an extra large bag of Monster Munch followed by a Mars Bar in a single sitting. Eat your sandwiches (or better still a pot of pasta) a few bites at a time, every rest period – a slow, continuous and easily digestible way of refuelling without feeling stuffed.
Ticks of the Trade
Sometimes the difference between success and failure can be as little as a small physical or psychological edge. Many climbers proscribe to mental boots, such as the mythical “redpoint breeze” – a sudden light breeze signalling ‘go for it’, believing (rightly or wrongly) that this slight meteorological event will cool the holds enough for a successful send. My personal favourite, is ‘The Kauk Technique’, used by many for years, but made famous by Ron Kauk during Master’s of Stone III (the climbing video). After struggling to bag a filmed ascent of the Yosemite classic Midnight Lightening (due to high temperatures), the legendary ‘rock master’, flips a nearby stone and utilises its cool underbelly to chill his fingertips before cruising to victory. The point being, if you can find a little idiosyncratic trick which helps you perform don’t be afraid to use it!At the End of a Session
Before leaving the crag mentally analyse what progress you have made, and if you have gone backwards ask yourself why and how you could improve next time. Some people even make diagrams outlining their sequence so not to forget important details. Importantly, leave the crag in a positive frame of mind. Even if you failed think; “but I got a little farther than last time”, or even; “I did those moves even though I felt tired, imagine how I would have done if I’d been fresher”. Obviously there is a fine line between finding the positives in failure and denial of the fact you’re just not up to it in your current physical state…
Specific Training Required?
 If you have serious problems on your chosen project isolate your weaknesses, ask yourself; why are you failing? If it’s because of a specific hole in your ability – lack of stamina, power endurance, contact strength, etc. – consider how you can address the issue. If it revolves around not being able to do a move or short series of moves the best approach is to consider working on it down the wall. If worse comes to the worse, there’s no shame in considering an alternative climb, perhaps something that
more appropriately suits your style. It will not have been a lost cause; the experience you gain from any siege (successful or otherwise) will stand you in good stead for all your future climbing adventures.

