This text is aimed at the person who has done a small amount of top-rope/lead climbing at an indoor climbing wall or single-pitch crag, and is looking to purchase the basic equipment to allow them to progress as a lead climber, under the stewardship of an experienced climber or instructor. As you peruse the pages of our website or visit a technical climbing store you soon come to realise there is a plethora of rock climbing brands and equipment to choose from, and deciding on what is required and what is a luxury purchase can, on the face of it, seem mind bogglingly complex. Rest easy. Providing you have an experienced person to take you out, and guide you through the relevant skills and etiquette of the crag or climbing wall, with a little guidance it’s relatively straight forward to sort out what you do and do not require in the way of equipment. As an entry-level rock climber it is most likely that you will have been engaging in two main areas of climbing: sport style climbing (i.e. leading on bolts at your local indoor wall) and single-pitch climbing on outcrops crags, with the possibility of moving into the area of multi-pitch mountain routes, once you are fully competent in single-pitch techniques.
Safety Ratings & Standards
There are well enforced European safety standards for climbing equipment manufacture and distribution – PPE (Personal Protective Equipment) standards have been a legal requirement in Europe since the 1980’s. Equipment that satisfies these ratings (all the equipment on sale on our website) will be marked with a CE (Conformite Europeene) stamp. This shows that the equipment conforms to all the relevant European manufacturing and safety standard legislation. The CE stamp is the minimum rating anything we sell has attained, and many goods we retail – predominantly from DMM, Wild Country and Black Diamond – have attained additional safety ratings, such as the 3-Sigma standard.Harness
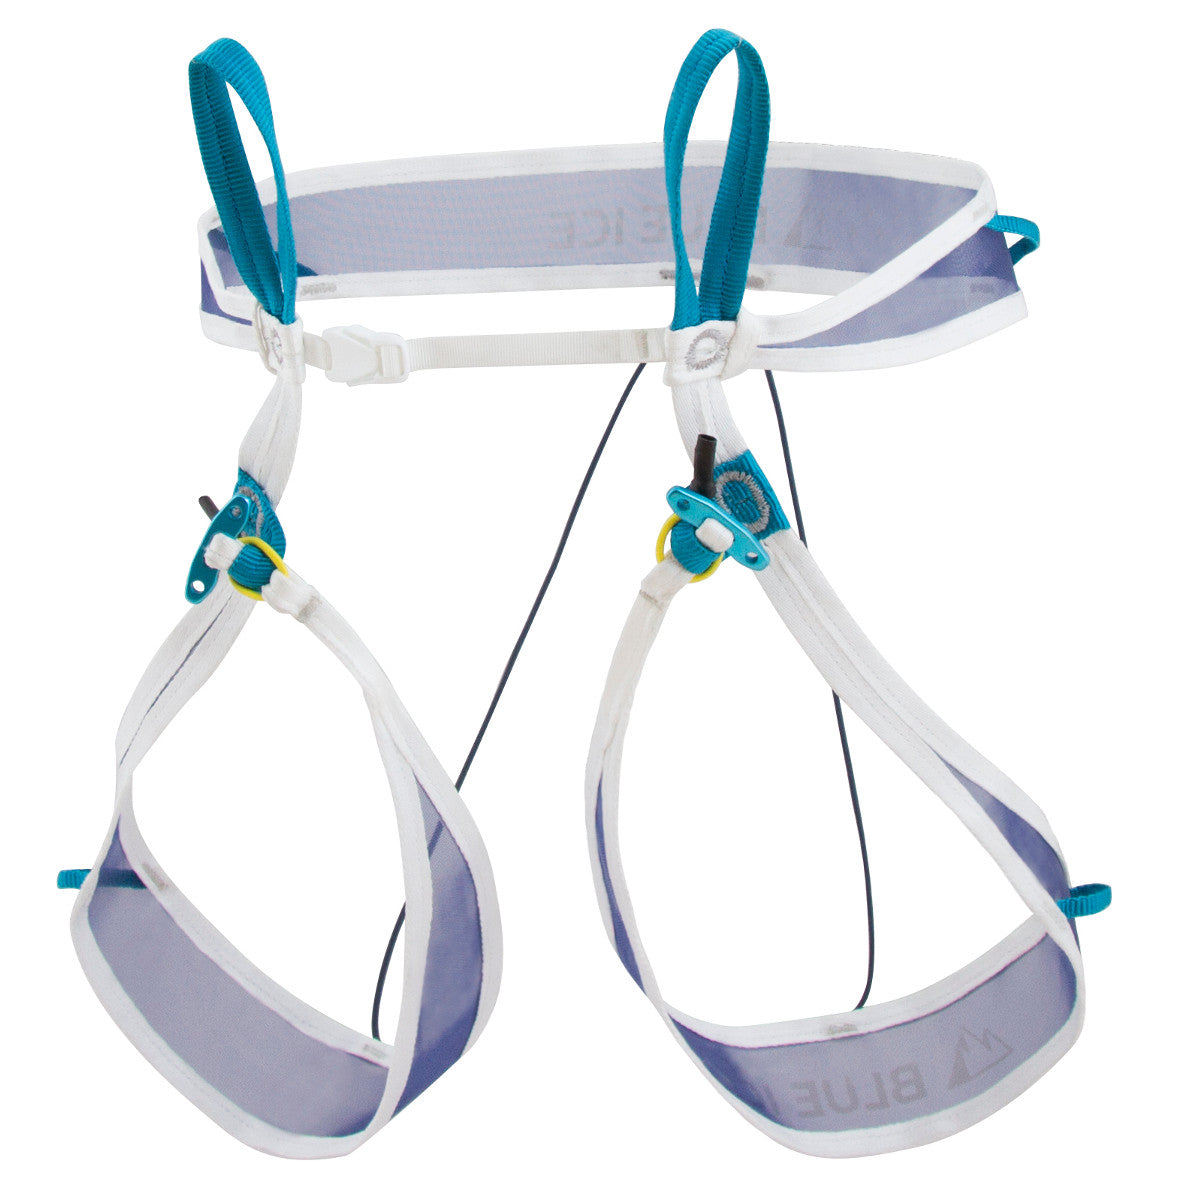
There are many different harnesses available, however when you strip away all the various design features and differing adjustment options available there are three basic connotations of harness – adjustable, semi-adjustable and Alpine. As you would expect Alpine harnesses are designed for lightweight Alpine use and as such are not recommended for the uses referred to in this text. Many instructional guides advise the novice climber to purchase a fully adjustable harness – a harness with adjustable waist and leg loops – proclaiming that this covers you for year-round climbing. On the face of it this is a reasonable statement, however in reality as the entry-level climber is just finding their feet, and is generally interested in climbing in relative comfort while they adjust to the sport and find their niche, a semi-adjustable – a harness with adjustable waist but fixed leg loops – is more than adequate. On top of this you will save weight and money. Whichever adjustment style of harness you choose the most important features as follows.
General Fit: The waist belt should be above your hips and the leg loops tight enough so that you can get no more than a finger’s width between your leg and the leg loop. Women can purchase female specific models, these have larger leg loops compared with the waist and a higher rise.
Gear Loops:You should be looking for a harness with no less than 4 gear loops. A harness with more than four loops should be considered a plus, as this increases your racking capacity and adds little to the overall weight of the harness. That said, a four loop harness will be perfectly adequate for most users.
Check out our full Harness Range.
Helmets
Whilst not essential this is often a wise purchase. The most common head injuries are those caused by incidents of falling objects, such as rocks – something the potential target has little influence over. Though there are many models of helmet available they are generally all covered under three categories.

Traditional Hard Shell: These are the basic shell and cradle style lids that have been a favourite of mountaineers and climbers for many years. Probably the best example of this is the Petzl Ecrin Rock, which is widely used as the benchmark climbing/mountaineering helmet. These are the best choice if you are going somewhere where the helmet is likely to see a lot of action as they are the most hardwearing, and the best for major impact from above. In fact if you and the helmet are likely to encounter a serious hammering there is still no better (or tougher) option than the Edelrid Ultralight Classic helmet.
New Style: EPS – Expanded Plastic Foam: One of the most remarkable developments in recent years has been the introduction of what is often referred to as the ‘cycle helmet style’ design. These helmets, an great example being the Petzl Meteor, utilise a moulded ‘expanded plastic foam’ (EPS) design which allows them to minimise weight and maximise comfort. Unlike traditional helmets these do not feature a hard shell, so the way in which the helmet deals with the impact is through the foam absorbing the force exerted on it. Although less durable, and slightly less effective than the hard shell design for penetration from above, protection is better around the sides of the helmet. These make for excellent rock climbing helmets; the kind of thing you might put on for a day at a single pitch crag. The weight and bulk saving that this style of helmet offers is going to be really appreciated by the trad or sport climber looking for appropriate head protection.
Hybrid: The best of both worlds? Many helmets in production nowadays take components/ideas from both of the above designs, creating perhaps the best compromise for the majority of climbers, who will expect one helmet to cover the variety of situations they may find themselves in. They are more durable than the EPS style but also lighter and more versatile than the traditional design.
Check out our full Helmet Range.
Rock Shoes
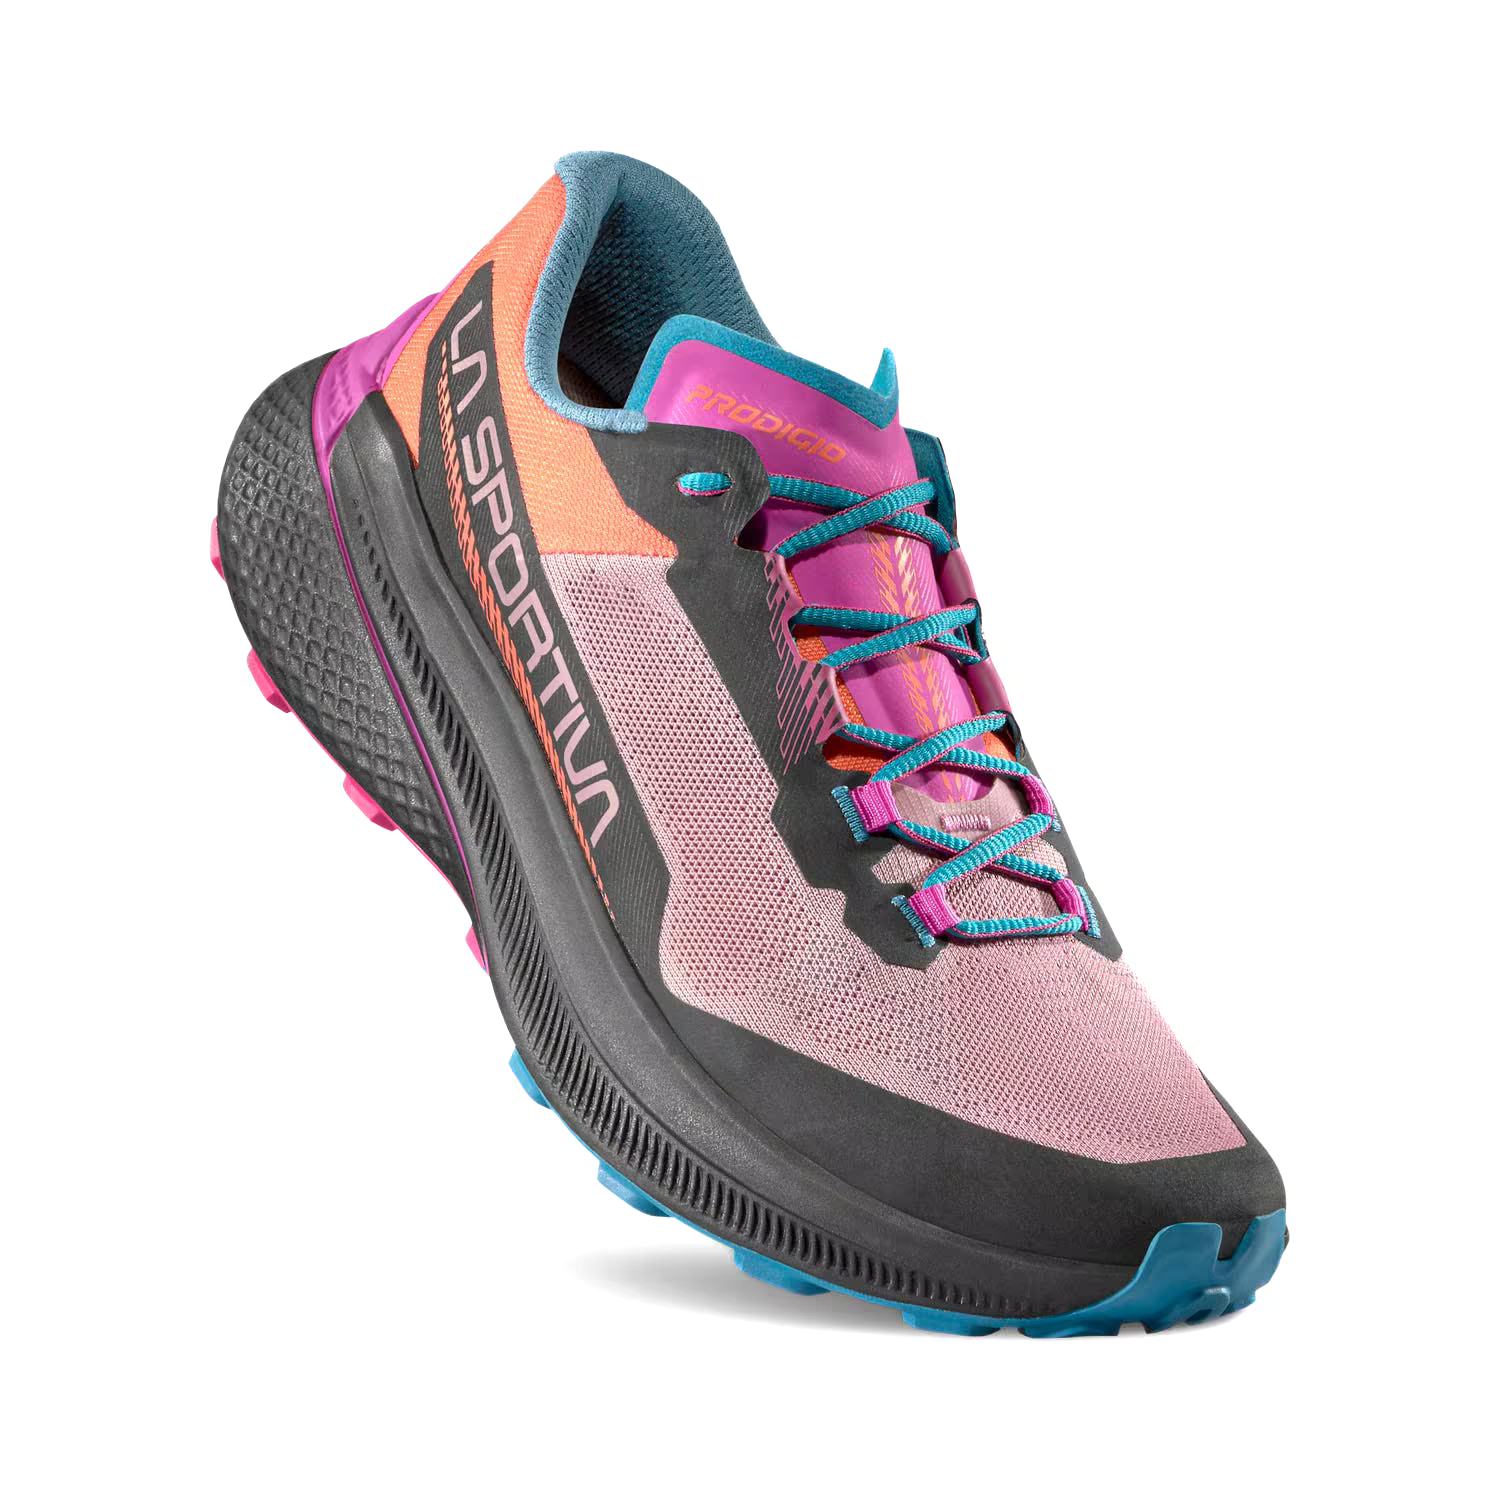
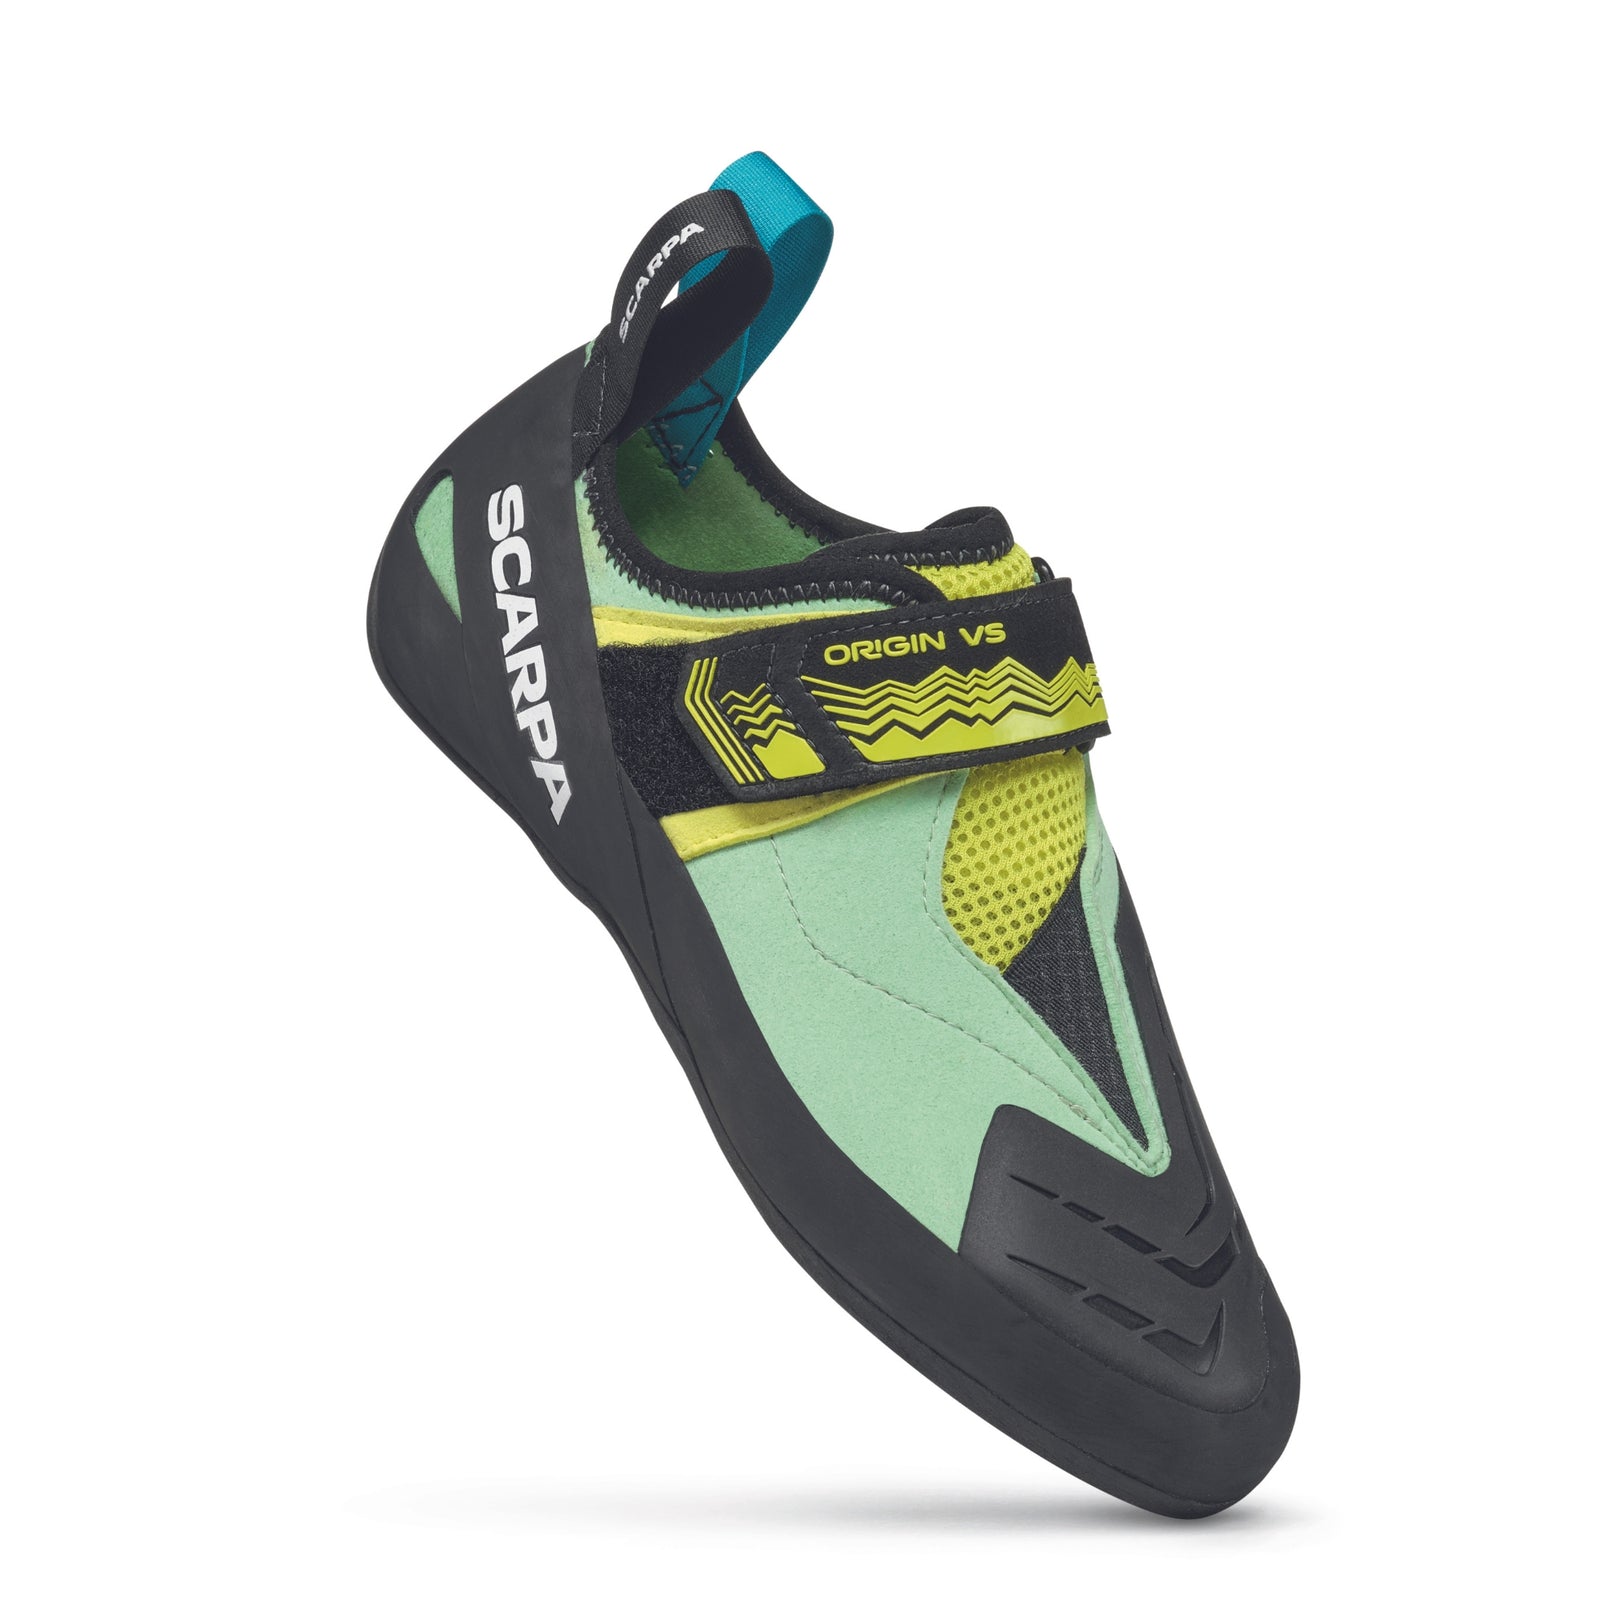
For full details on sizing rock boots check out our Rock Shoe Sizing Guide Article. In short the entry-level climber should be looking for an all-round shoe, which offers a good level of support/rigidity with a close but non painful fit. Lace up shoes provide more adjustment than their Velcro counterparts, but are less easy to pull on and off.
Check out our Rock Shoe Range.
Rock Cimbing Rope
If you are going to climb routes then a rope is an obvious necessity. First up, be sure to purchase a dynamic rope (stretchy and designed to take lead falls) rather than a semi-static (un-stretchy and designed for rigging, hauling and extensive abseils usage) rope.

There are numerous “standard lengths” of climbing rope available, and it is simply a case of picking the length most appropriate to your needs. For single-pitch or straightforward multi-pitch use, a 50m rope should be fine. However, if you are likely to be climbing at a big indoor climbing wall, or there is a chance you may go on a “sun rock” sport climbing holiday, then a 60m rope gives you more versatility and route options. BE SURE you purchase a "single rope" rather that a "double" or "twin" rope, if you intend to use just one rope.
Using a pair of double ropes is common place in the UK. This allows for when a route follows a more complex line, and the versatility of two ropes – for clipping into separate protection – prevents rope drag and offers the piece of mind, that if one rope is damaged (rock falls etc.) you have a backup. You can also abseil twice the distance. For the entry-level user a “single” rope is the best bet. Indoor wall climbing, sport routes and most single-pitch climbs are easily ascended with a single rope. Also, if necessary a single rope can be paired (or doubled up on shorter pitches) to use as a double rope.
Diameter: You have the option of purchasing a single rope in diameters anywhere between 8.7mm and 11mm. The two ends of the spectrum are aimed at the specialist user, i.e. elite or group use. Most climbers looking to purchase an all-round single rope will go for between a 9.8 and 10.5mm rope. There are pros and cons of each option: 10mm: lighter and slicker to use, but less durable. 10.5mm - heavier but will have greater longevity.
Coatings: Your final consideration is what coating or finish to go for. Whilst there are many different finishes offered the simplest way to look at them is either dry or non-dry treated. This basically means that the more treatments a rope has been subjected to, the more water and wear resistant it is. However, as these coatings and treatments involve more time and longer processes, the price of the rope will increase to reflect this. Simply put, non-treated ropes will be fine for any situation where the rope remains dry and relatively clean. Treated ropes will increase overal longevity and if specifically dry treated be water resistant. Water resistance is of paramount importance in winter climbing scenarios where the rope may freeze and become unusable if it becomes saturated.
Check out our full Climbing Rope Range.
The Rack
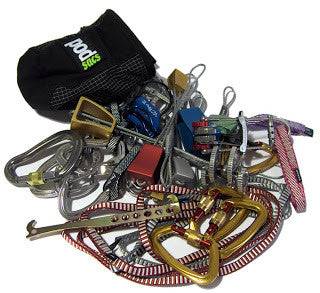
This term refers to the array of hardware and software used to protect and rig a route or belay.
Passive Protection This includes any jamming or camming protection that has no moving parts; and is the oldest and most basic form of climbing protection. The most useful Passive Pro for the entry-level lead climber is a set (around sizes 1-10) of wired nuts, such as Wild Country Rocks or DMM Wallnuts, and a selection of larger wired or roped Hex style chocks, such as the Black Diamond Hexs or Wild Country Rockcentrics. The inset image shows the simple jamming principals of basic "passive protection".
Check out our full Passive Protection Range.
Extenders (Quickdraws) This is the link between your protection and the rope. When leading on non-fixed protection (nuts, hexes, cams etc.) a minimum of 8 quickdraws should suffice on most pitches. For trad climbing a mix of lengths allows maximum versatility on route - x2-10cm x4-15cm x2-20cm. For such trad purposes, where weight is important, a configuration with Dyneema sling connectors and wiregate carabiners is the best bet. For sport climbing purposes a rack of 10 'draws is ideal. These are usually all the same length (10cm or 12cm) and use sold gate carabiners and Nylon sling connectors, for increased durability and usability.
Check out our full Quickdraw Range.
Screwgate/Locking Carabiners A few screwgate or locking carabiners are generally used for an extra secure fastening point on belays etc. You have the option of the standard style screw-up locking biners, or the twist-lock system (spring loaded locking gates). Both are safe when used correctly, and which style you opt to purchase is purely down to preference. Between 3 and 5 small lockers and a single larger HMS (in addition to your belay carabiner) is generally plenty.
Check out our full Carabiner Range.

Belay Device & HMS Carabiner There are a multitude of belay devices available and these can generally be split into two categories – manual (double slot, stitch-plate style) and semi automatic (Petzl Gri Gri 2 etc.). For all-round use it’s initially wise to go for a manual type of device, such as Wild Country VC Pro, Black Diamond ATC XP, DMM Bug etc. A popular device, prolifically seen at many a climbing wall, is the Black Diamond ATC. While this is similar to models previously described, it is designed for the more experienced climber, and can be a little too “slick” for those new to the sport. In partnership with your belay device it is wise to use a HMS style biner. This larger carabiner offers easier use and optimises the efficiency of the belay device.
Check out our full Belay Device Range and our full HMS Carabiner Range.
Nut Extractor A cheap and worthwhile purchase to ensure overly well placed gear can be removed more easily. A number of slight variances (e.g. cam extractors, inbuilt clip) exist on the same basic premise - a drilled "wand" with a hooked tip for helping to pull/push out jammed protection.
Check out our full Nut Extractor Range.
Slings
No one should be without a few longer slings. These are an essential aid in setting up belays and abseils, plus they are invaluable in extending clipped protection or "runners". Most climbers would aim to accumulate at least 4 or 5 lengthier slings, for example x2 60cm, x2 120cm and x1 240cm. You will notice that slings generally come in Nylon and Dyneema/Dynatex and in different diameters. Weight for weight Dyneema is a stronger and more abrasion resistant material than Nylon, and is increasingly becoming the most popular sling material in the UK. Whilst the the narrower slings are obviously slightly less strong than their thicker counterparts, this is negligible. The main consideration in deciding which diameter to choose is weight against resilience to wear. We would advise that the entry-level climber chooses a compromise like 11mm.
Check out our full Sling Range.
Spring Loaded Cams
Once considered a luxury add on, or something only experienced climbers owned, a few key sized cams will hugely aid your placement options. A decrease in price has now meant even those new to the sport, or on a tight budget, can add a few cams to their rack for a minimal outlay. For those not sure: a spring-loaded camming device (SLCD) is yet another piece of climbing protection. It consists of three or four cams mounted on a common axle or two adjacent axles, so that pulling on the axle forces the cams to spread farther apart. The SLCD is used by pulling on a trigger-like handle to compress the cams, it is then inserted into a crack, break or pocket and the trigger is released, allowing the cams to expand. At this point the climbing rope is attached via a quickdraw or biner at the end of the stem. A forceful pull on the rope, such as that generated by a climber falling, will cause a properly placed cam to convert the pulling force along the stem of the unit into outwards pressure on the rock, generating massive amounts of friction and preventing the removal of the unit from the rock. In a nutshell: due to their very nature the SLCD is ideal for parallel or flared cracks where "jamming" style passive protection is unusable. If you do decide to invest in a few cams the middle sizes are your best bet.
Check out our full Camming Device Range.
Chalk & Chalk Bag
For anyone who has climbed indoors, you will soon realise that sweaty mitts can be a big problem when trying to hold grips at the limit of your ability. As you may already beware, chalk - or magnesium carbonate as it actually is - is the most popular means by which to alleviate this problem.

Chalk is a cheap and a chalk bag, to carry it, can be picked up from between £8 and £20. Many climbing walls require that you use only chalk balls, as these mesh dispensers are less messy and only release chalk when squeezed.
Check out our full Chalk Bag Range and Chalk can be purchased here.


