


 By Rock + Run
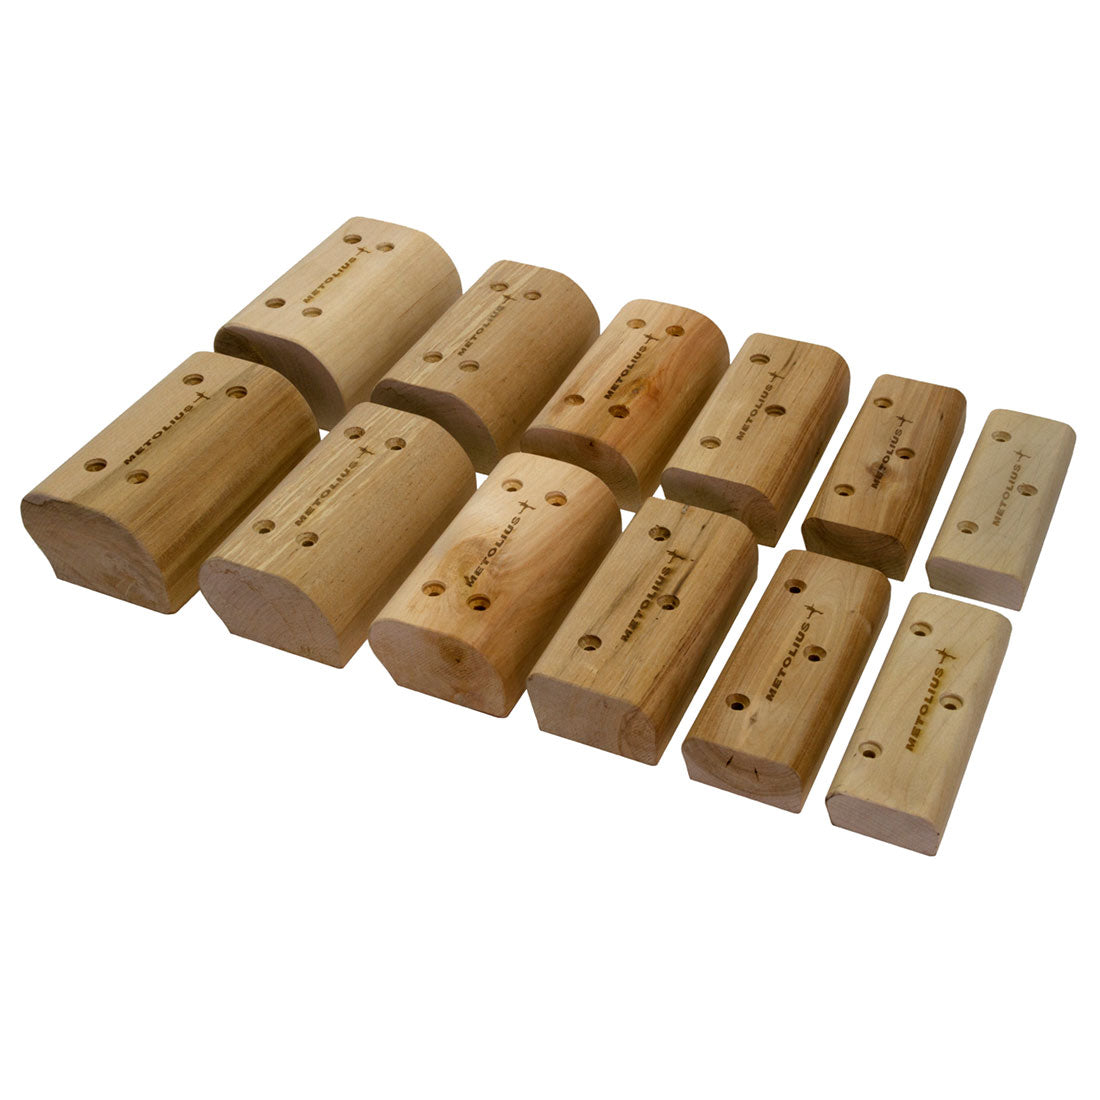
The Rock Rings CNC are designed to provide a convenient, portable, compact and inexpensive approach to climbing-specific training. They are ideal for working the most critical elements of climbing strength: contact strength, body tension, and general upper body strength. Their single point suspension allows them to move freely, relieving the stress to your joints and thereby preventing injury. The 10-Minute Sequence consists of ten tasks, one performed at the start of each minute, with the remaining time used to rest until the start of the next minute. It is an excellent format for training both strength and stamina in the same workout, for improving your recovery, or just for warming up. It is also a great way to simulate the demands of your current project. Be creative and don't limit yourself. It could be five minutes or thirty minutes; you could do it in 45-second cycles or two-minute cycles. Experiment with your training and keep it as varied as possible. If you have never trained before, it will take six to eight weeks to become accustomed to the training routine. It may take four weeks to make it through the whole routine, that’s okay, (over zealous training may lead to injury) take it at your own pace. The key to training is to set your schedule and follow it religiously. If there are certain holds or moves that cause you pain, avoid them. The skin on your fingers will get sore and may take a few weeks to callous up - but then you will be ready to really train hard. You should be able to go through the whole routine with ease before you move up to a more difficult sequence.
 Body Position Key
Look at the hold layout to see which hold/s you will be using at each minute interval. Also check the body position key to see which position you will be assuming at the given time interval. We have found these sequences to be quite effective, and depending on how you put them together, the ten minute sequence can provide a good combination of endurance and power. Please remember these are only general guidelines, and sample routines, the specifics of training yourself we leave up to you. The Rock Rings CNC offer an excellent approach to climbing-specific exercise. They are designed to increase muscular endurance and to help build contact strength in the fingers and forearms. Their single point suspension allows movement in an infinite number of planes much like gymnastic rings. The Rock Rings can be used in conjunction with a hang board or separately. Many of the exercises which one practices on a hang board translate directly to the Rock Rings.
Installing / Mounting The Rings
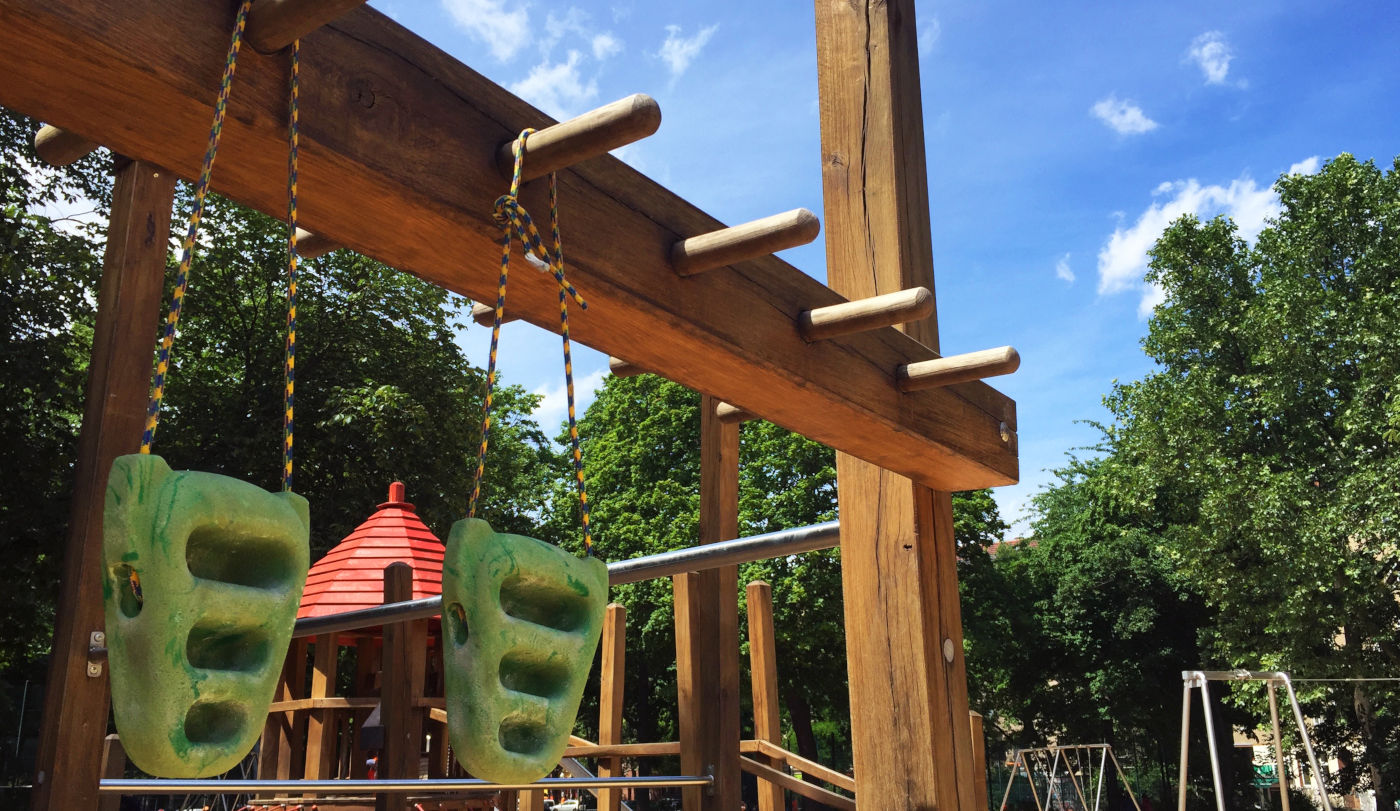
Don't underestimate the effect that location will have on the success of your training program. It is a lot easier to spend time in a warm, well-lit room than a freezing garage or dank basement. The portability and convenience of the Rock Rings CNC can be a big advantage here. It is tough enough for most of us to stick to a training program even under the best of conditions, so give yourself every advantage: warmth, light, music, or whatever it takes for you to create a positive training environment. The Rock Rings can be suspended from any solid anchor point, a pull-up bar, tree limb, eye-hooks in an exposed beam or framing member, etc. Ideally, the rings should hang near the height of your full extension, but anyplace with enough height to get your feet off the ground and adequate headroom will suffice. Make sure that the anchor points you choose can withstand the loads you will be placing on them, and that they can't slide or move while the rings are in use. It is easy to underestimate the force you will be able to generate, so be conservative and consult an engineer if you are in doubt.Principles
 Rock Rings CNC are most effective at training contact strength and body tension. Contact strength, also referred to as finger strength, is simply the ability to hold onto the holds (as opposed to the ability to move between the holds). It is the single most important type of strength for a climber to have. If you can't even hold onto the grips, there is no way you will be able to move between them. Body tension, sometimes called core strength, allows you to distribute the force you are generating between your points of contact and to direct your movement. It allows you to weight your feet and save energy. This type of strength (or lack thereof) is especially noticeable in controlling swings around the lips of roofs or on steep rock in general, but it is critical to all climbing movement.
Fundamentals
How to Grasp the Grips: You want to use an open-handed grip as often as possible. Most climbers are weaker open-handed than crimped, so you may find this difficult at first, but you'll get used to it. Training open-handed will increase your crimp strength (but not vice-versa), and it is essential for holding pockets, slopers, and certain edges, as well as making moves at maximum stretch and catching dynos. Most importantly, however, using an open hand lowers the potential for injury. As you adapt to training, you can incorporate a little crimp training to increase your maximum edge-holding power, but keep it to a minimum. Warm Up, Warm Down: It is critical to warm up thoroughly. You can start by climbing, bouldering, or doing easy pull-ups and dead hangs, along with gentle stretching. Make the first 15 minutes ridiculously easy and gradually increase the intensity until you're at full power. Reverse this process at the end of your session to prevent injury and speed up recovery. The warm down should be even easier than the warm up. It should feel as if you're doing almost nothing. The idea is just to keep the blood flowing for 15 or 20 minutes after the high intensity part of your workout. Recovery: To maximize your gains and prevent injury, you should always be fully recovered before a training session. Not resting enough between workouts will soon lead to a plateau, quickly followed by injury and burnout. If it takes you longer than normal to feel warmed up, or if you haven't noticed any improvement in 3 or 4 sessions, you probably need more rest. Listen to your body and be flexible with your training schedule. Making It Easier: If you find certain exercises or holds too difficult at first, you can put one foot on a chair or have a training partner assist you to take off as much weight as necessary. Be sure to have a clean, open, well-padded landing area, as an awkward, off-balance fall is a greater possibility when your feet are helping to take your weight.
Exercises
Dead Hang: This is the fundamental exercise for developing contact strength. You should master the dead hang on any particular hold before attempting any other exercise on that hold. Never lock you elbows completely. Always keep a slight bend to prevent injury. Bent Arm Hang: A variation of the dead hang which will begin to develop your ability to pull through and lock-off. This can be done at any angle, and should be varied as much as possible. Pull yourself up to the designated angle and hold a static contraction for the designated amount of time. Be careful of doing maximal contractions at full lock-off, as they can be as injurious as fully locked-out elbows. Offset Hangs: Begin as with the bent arm hang. Shift your weight all the way to one side and hold a contraction. Shift your weight laterally, all the way to the other side, without lowering your body and hold an equal contraction. Repeat. Vary the angle of your lock-off, the duration of your lock-off, and the number of repetitions. Pull-ups: Try to be as smooth as possible. Don't jerk, kip, swing, or otherwise cheat. Keep your lower body quiet. Don't lock your elbows completely at the bottom. Focus on maintaining perfect form, and don't worry about the number of repetitions. Offset Pull-ups: The first step to one-arm pull-ups. Position yourself with your weight centered under one arm, as if to do a one-arm pull-up. Choose a lower hold with the other hand and give yourself just enough assistance to complete the exercise. One-arm Pull-ups: Now you really have some power! Follow the same guidelines as for pull-ups but pronate your arm more. If you're getting close, but can't quite do one-arms, do an offset pull-up, but perform the negative contraction (lower yourself) as a pure one-arm. The potential for injury is very high, so it is absolutely critical to be smooth. Don't bounce! L-Hang: The emphasis here is on core strength. Choose a hold that you're fairly comfortable on. You can dead hang or bent arm hang. Pull your legs up from the hips, keeping your knees straight and your toes pointed. Hold a static contraction with your legs at 90 degrees to your torso or do slow repetitions raising your legs as far as you can but only lowering to about 45 below horizontal. If you lower you legs all the way, it will take the tension off your abs and constitute a rest. The idea is to keep your abdominal muscles contracted the entire time. If straight leg raises are too difficult, bend your knees at a 90 degree angle. Front Lever: Work up to these by performing them first with both legs bent at the knees, and then with one leg straight and one bent. If you can do a good front lever, try it with one arm.
Below: 10 Minute Sequence (click for larger version)