


By Ned Feehally
Ned Feehally explains Beastmaker's Training Plan specifically developed for hang boarding beginners.
Introduction
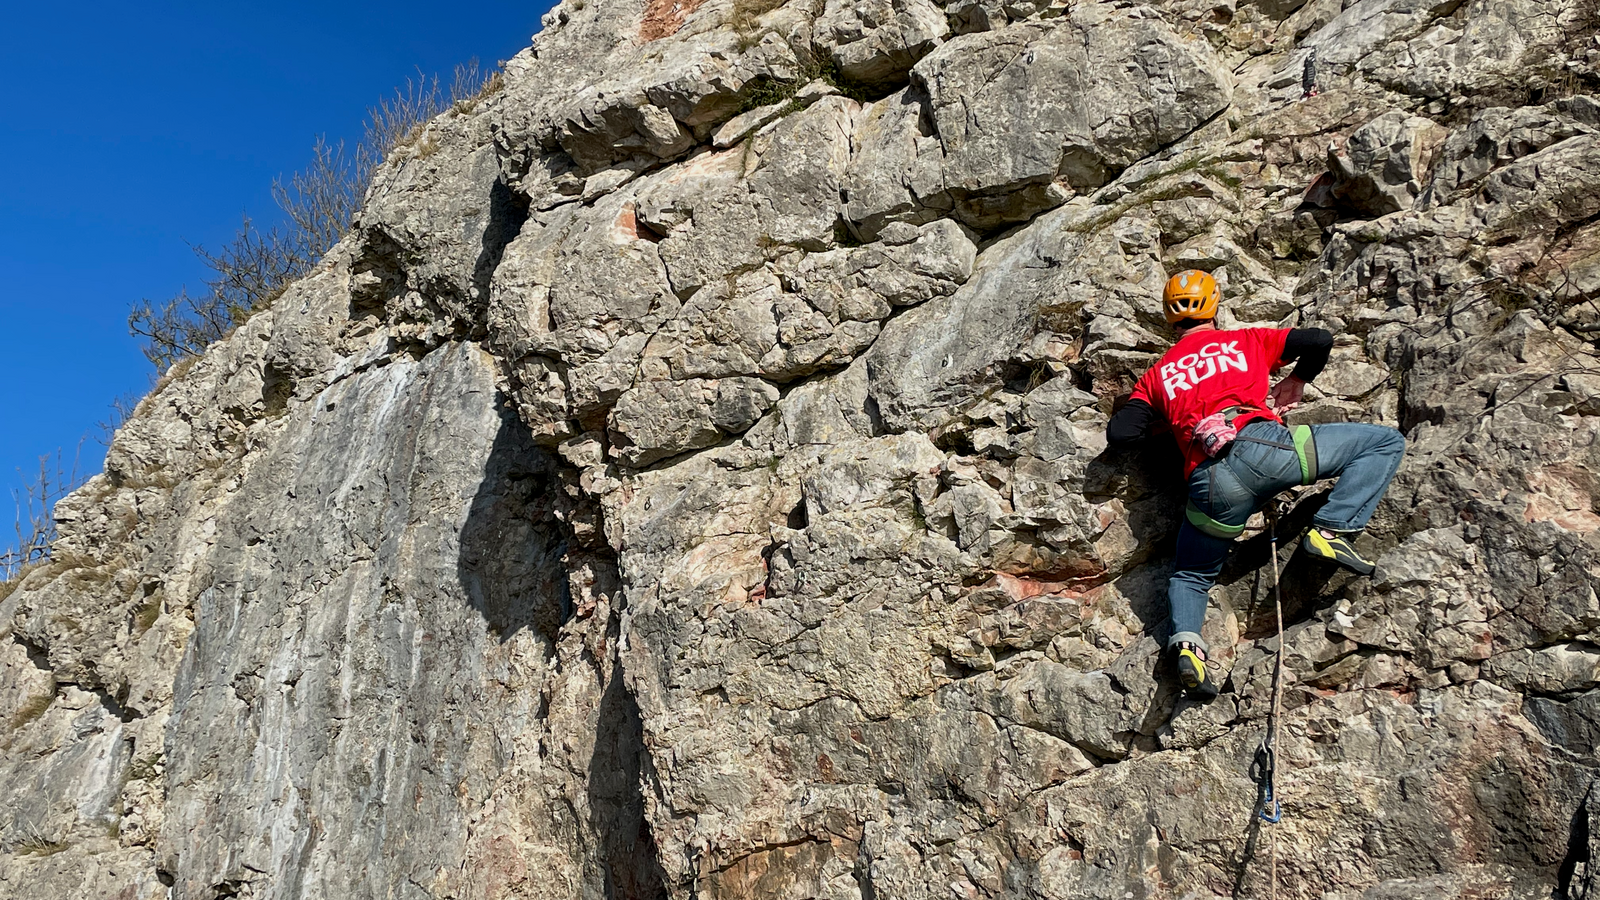
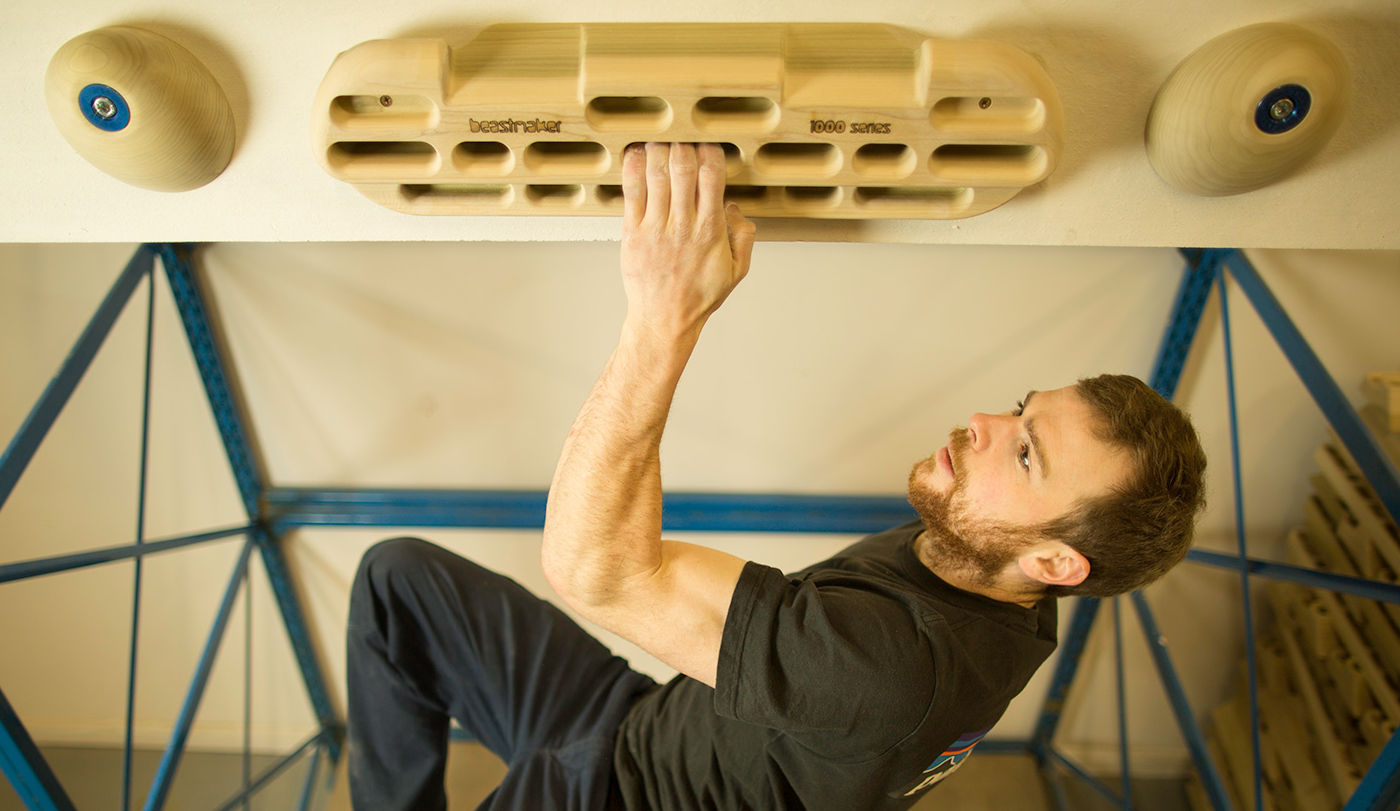
This guide is designed for those of you who like the idea of structured fingerboard training but have no idea where to start. I aim to provide a basic plan which is easy to understand, follow and add to as you progress. Image right: Ned crushing his way to become British Bouldering Champion. Photo courtesy of Wild Country. Both the beginners and intermediate training plans have a detailed description of the exercises followed by a slimmed down “session sheet” which gives an outline of the plan without any extra information. The idea is that you read the detailed information, then print the “session sheet” and take it with you to the wall / garage / bedroom. This way you know exactly what you are doing for each session but you don’t have to cart around reams of paper.
Beginner - Up to font 6c/V4/English Tech 6b (ish)
Use this if you are new to climbing, or just new to training and want a simple plan that is fast, easy to follow and will lead to strength gains. You can add to this plan or tweak it to fit your own needs after experimenting with it for a few sessions. I recommend you use the Beastmaker 1000 for this training plan, although it can easily be done on a Beastmaker 2000, or many of the other resin fingerboards that are available.

The Holds
Hold 1 – Large jug, Hold 2 – Small edge, Hold 3 – Large edge, Hold 4 – Medium edge, Hold 5 – 35degree sloper, Hold 6 – deep 2 finger pocket, Hold 7 – Shallow 2 finger pocket, Hold 8 – Deep 3 finger pocket, Hold 9 – Shallow 3 finger pocket, Hold 10 – Big flat slotEach hold has a corresponding hold on the other side of the fingerboard. Each hang is done with left hand on the numbered hold and the right hand on the corresponding hold on the right of the fingerboard.
Each set of hangs is done with the following format: Hang the hold for 7 seconds, followed by a 3 second rest. This is one rep. Repeat it 6 times. A set of this kind should therefore last approximately one minute, as shown in the table below.
| Time ON/Off | Overall Time |
| 7 seconds hang | 0-7 seconds |
| 3 seconds rest | 7-10 seconds |
| 7 seconds hang | 10-17 seconds |
| 3 seconds rest | 17-20 seconds |
| 7 seconds hang | 20-27 seconds |
| 3 seconds rest | 27-30 seconds |
| 7 seconds hang | 30-37 seconds |
| 3 seconds rest | 37-40 seconds |
| 7 seconds hang | 40-47 seconds |
| 3 seconds rest | 47-50 seconds |
| 7 seconds hang | 50-57 seconds |
| 3 seconds rest | 57-60 seconds |
So what should you do?
- Warm up on the climbing wall/fingerboard for at least 15mins. Take your time with the warm up. If you start training without fully warming up you are at a much greater risk of injury. Finger injuries are nasty and take a long time to heal. You should do your very best to avoid them.
- 4 finger open handed hang on either hold 3 or hold 4 (2 handed hang using hold 3 or 4 for the left hand and the corresponding hold for the right hand). This is an open handed hang so don’t put your thumb over your fingers (i.e. the crimp position). Complete the set as detailed above. 3 mins rest.
- 3 finger open handed hang on either hold 8 or hold 9. Complete set as detailed above. 3 mins rest.
- 4 finger hang on slopers (hold 5). Complete set as detailed above. 3 mins rest. To make these easier either pinch below the sloper with your thumb or nestle your index fingers into the edge of the inner sloper for extra grip.
This workout is short (12 mins) but very intense due to the repeated hangs and limited rest periods. If you feel strong/psyched repeat this up to 3 times with 10mins rest between each.
Beginners Training Plan (print this section)
This shows the outline of your training plan. I suggest you note down exactly which holds you are using for each set, that way you will always train on the same holds and progress can be measured accurately. Warm up – it is very important to warm up properly!- A set of 4 finger open handed hangs on large or small edge.
- 3 mins rest.
- A set of 3 finger open handed hangs on 3 finger pocket.
- 3 mins rest.
- A set of 4 finger hangs on slopers.
Each set = 7 second hang followed by 3 second rest, repeated 6 times in total. Rest for 10-15mins and repeat up to 3 times.
Progression Techniques
You can use these in combination or on their own to vary the intensity of each exercise allowing a lot of adjustment to the difficulty. This helps you to avoid hitting plateaus in your progression. To make the exercises harder you can:- Use a smaller hold
- Hold the hold further out, so your hanging onto less of it making a smaller hold.
- Reduce your rest times (i.e. from 3 down to 2 mins rest between sets)
- Add some weight – start with a couple of kgs (held between the feet or in a rucksack).
- Hang with one hand in a similar, but worse hold , and alternate hands between hangs so each hand has hung 3 times off a smaller hold and 3 times off a larger hold.
To make exercises easier you can:
Reduce hanging time and increase resting time for each hang. Instead of 7sec hang and 3sec rest, hang for 6 sec and rest for 4, or hang for 5 and rest for 5.- Use a bigger hold
- Put a foot on the wall in front of the fingerboard to take some weight off your hands.
- Hang with one hand in a larger hold, and alternate hands between hangs so each hand has hung 3 times off a smaller hold and 3 times off a larger hold.
- (Sloper specific) Hang slopers with the assistance of a thumb pinching underneath the hold.
- (Sloper specific) Nestle the index fingers into the grooves created between the slopers.