By Jonathan Doyle
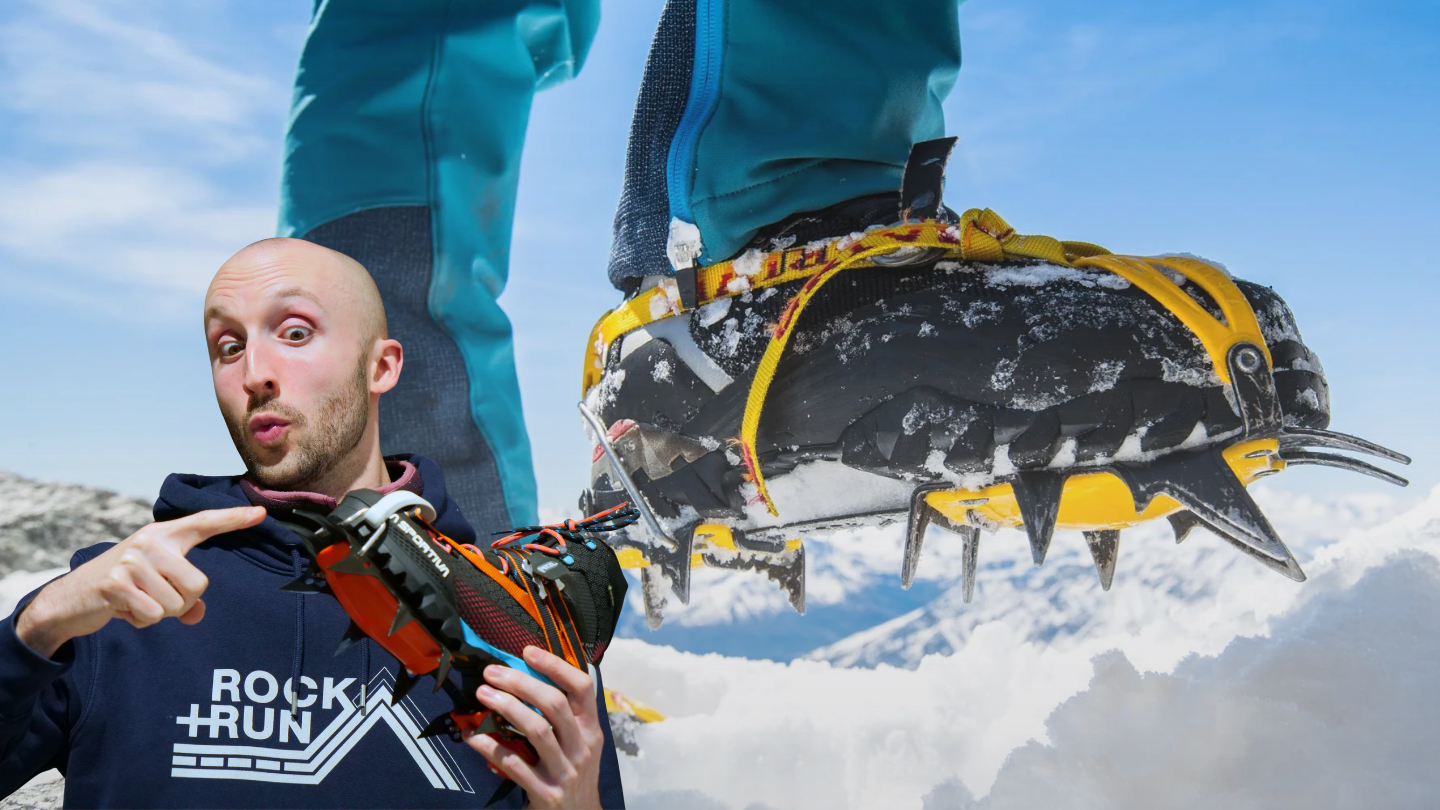
With winter or a trip to the Alps/Greater Ranges comes additional objective dangers when operating in the mountains. However, as always, if you are kitted out appropriately, you need not let this stop your adventures. It is imperative you do not head out into the mountains during winter conditions without a pair of crampons or traction spikes. They are a spiked-tooth device which attach to the soles of your boots and allow you to safely move across snowy and icy terrain. Attempting to cross these areas without crampons could easily turn a great day out into a mountain rescue situation.
With so many crampon variations and options available, it may not be instantly obvious which type would suit you best. So here at Rock + Run, we have decided to create this handy (hopefully) crampon-buyers-guide to help streamline your decision process and get you out in the hills just that little bit quicker.
Crampon Anatomy
In order to gain a clearer idea how the various crampons perform and what they are best suited to, it is a good idea to have basic understanding of their main components.

Base: Points (teeth), flex bar, anti-balling plate.
Bindings: Front cage and bail, heel clip, binding strap.
Crampons: the basics
There are essentially four types of traction spike devices; micro spikes and, roughly speaking, three varieties of true crampon. Their functions vary from basic snow-patch crossing and winter fell running, to ice climbing at the highest level.
Slip on Spikes (e.g. Micro Spikes)
- Suitable for: winter walking/running on established tracks and trails.
- Compatible with: running shoes, B1, B2, B3 boots.
- Bindings: slip on.
Slip on Spikes are the most basic and lightweight traction spikes available on the market. They are only suited to those wanting to travel fast and light on predominantly established walking paths in minimal winter conditions. If you are a casual hiker or fell runner, this is where you should be looking. They allow you to gain purchase no snowy, icy, and muddy terrain where you would otherwise be slip-sliding all over the place. They are compatible with any style of walking boot or running shoe as they are able to flex and move with the shoe they are attached to. It must be noted that micro spikes are NOT full crampons and therefore are NOT SUITABLE for mountaineering or serious winter fell walking.
Popular examples: Kahtoolah Microspikes, Nortec Trail Spikes, Grivel Ran Light Anti-slip.
C1 Crampons
- Suitable for: winter hill walking and glacier crossing.
- Compatible with: B1, B2, B3 boots.
- Bindings: strap-on.
C1 crampons are much more secure than micro spikes as they utilise flexible plastic cradles which fit around your toe and heel which allows them to be strapped tightly about your boot. They are also able to flex with each step, meaning they are compatible with B1, B2 and B3 rated boots. C1 crampons are usually fitted with 10 points, allowing for good traction while minimising weight. The points also tend to be wide and flat which allows for better weight distribution on soft terrain.
Popular Examples: Black Diamond Contact Clip, Petzl Irvis Flexlock, Grivel Air Tech Light.
C2 Crampons
- Suitable for: Winter climbing (up to Scottish V), technical winter scrambles, alpinism.
- Compatible with: B2 and B3 boots.
- Bindings: Heel lever-lock, front cradle or bail.
C2 crampons are suited to more technical ground and usually possess 12 slightly longer points for added security and stability on steeper ground. They are usually made from stronger more durable material than C1 crampons which helps them last longer when used on mixed terrain. C2s usually attach to your boot via a heel lever-lock system and front plastic cradle. The front section can be replaced by a metal bar, the bail, which allows for even more security and a reduction in weight.
Popular examples: Grivel G12 New-Matic, Black Diamond Sabretooth, Petzl Vasak.
C3 Crampons
- Suitable for: Ice climbing, mixed climbing, and dry tooling.
- Compatible with B3 boots.
- Bindings: Heel lever-lock, front cradle or bail.
C3 crampons are primarily designed for climbing steep, technical ground as well as pure ice climbing. Of course, they are more than capable on easier ground when you need to cross a snow field or glacier to reach your climb. C3s can have up to 14 points for additional stability and support as well as improved purchase on vertical ice. The front points on C3s tend to be more aggressive. They are taller than they are wide, allowing them to cut into ice more effectively and provide better support when standing on only the points. C3 crampons can also be changed to mono-points, meaning they can just have one front point. This is very useful when mixed climbing or dry-tooling as a second point can often make standing on a tiny hold or in a narrow crack much more difficult.
Popular examples: Petzl Lynx, Petzl Dart, Grivel G14, Black Diamond Cyborg.
Top tips
- Try to avoid putting your crampons on in areas with little to no snow or ice. Not only does this damage the rocks unnecessarily, but it also greatly increases your chances of tripping or potentially breaking your ankle. Of course, if you are just crossing a rocky patch between sections of snow/ice, then by all means keep them on, but tread carefully.
- Make sure you fit your crampons before heading out, it will make clipping in on the mountain much more time efficient.
- Once you have fit your crampons to your boots, cut the straps to size so there is perhaps only 4 or 5 inches of excess. This dramatically reduces the chance of you tripping on a stray strap. Also melt the ends so they do not fray.
- Transport them in a crampon bag. They are inexpensive and stop crampons snagging on ropes and clothing in your bag, or even poking holes in your backpack.
As usual, if you are unsure at all about any of the information provided within this article, please contact a qualified instructor so they can provide further assistance.


