


By George North
Like a lot of keen climbers I’ve developed a few obsessions over the last few years – little things that seem to make the difference between success and failure. One is climbing shoes; often having the right shoe will tip things in your favour when climbing at your very limit. The other, and arguably more critical pre-occupation is that other contact surface with the rock; the skin on your fingers. For those of us who don't happen to work as stonemasons, shifting rocks around on a daily basis, keeping good skin can be a constant struggle. Now I’ve done a bit of research on the matter, and read plenty of articles on the subject, including no end of quack remedies recommended to make your hands tougher than rhino hide. It seems like a lot of these articles approach the subject from the wrong angle though, with plenty of helpful advice on how to heal your shredded fingers. Being a firm believer that prevention is better than cure, I’d say that the critical thing is to preserve your skin during a session, thereby avoiding the need for lengthy skin rehabilitation. I must admit that as the most skin intensive branch of the sport I’ve very much written this from the boulderer’s point of view, although much of it should be applicable to routes climbers too.
 Prevention is Better than Cure
Rule 1 (the golden rule) Avoid split-tips at all costs. Most climbers will at some point have experienced the dreaded split tip – pulling on a sharp hold cuts through the skin leaving a small wound that can take weeks to fully heal if not managed properly. However it doesn't tend to happen after just one pull on a hold, normally repeated pulls on the same hold roll back layers of skin until it gets thin enough to rip. Fortunately there are a few tactics you can use to limit the risk of this happening, so here are my Top Ten Split Tip Top Tips:
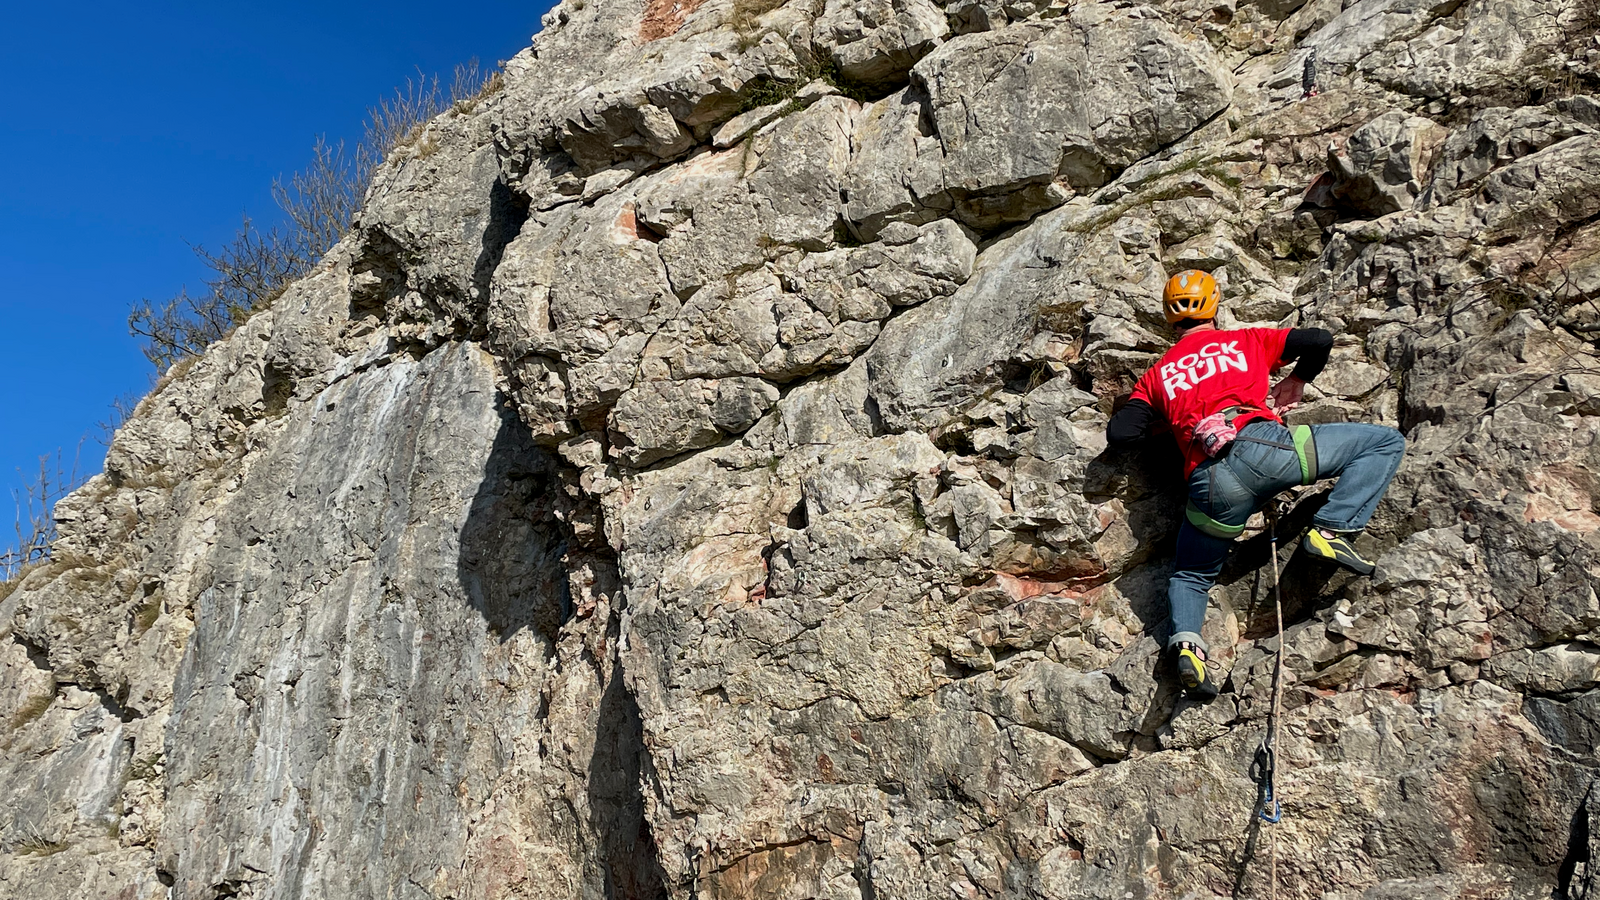
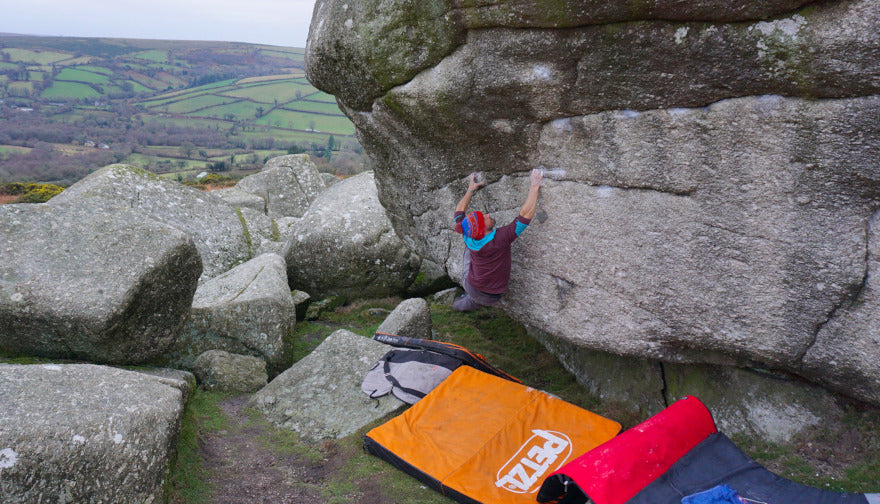
Right: The author pulling hard on the rough granite of Silvretta, Austria.
- Take your time – Soft sweaty skin damages far more easily than cool dry skin. Take good rests between attempts and make sure your skin is in tip-top condition before pulling on. I’d say the number one error seen at the crags is rushing between attempts. Be professional and slow down!
- Keep your skin as cool and dry as possible between attempts by keeping your hands ventilated and chalked between attempts. If it’s a still day then waving your arms in the air, blowing on your fingers, or employing the legendary ‘Kauk Technique’ (see 'Tricks of the Trade' here) have all been used to good effect.
- Make sure the holds are in good condition – brush off excess chalk and give them a light thwack with a rag if required to finish the job off.
- Climb in the shade – Try and time your session to make the most of conditions. This might mean getting up early, or hanging around until the sun goes off the rock. It’ll be worth it though.
- Use a file (on your fingers, not the rock of course) - Normally before a split occurs layers of skin will start to roll back. These snags catch on crystals and exacerbate the problem, so it is a good idea to gently file off such snags as they occur. Foot files are the bee’s knees for this, although you might get some strange looks in the chemists.
- Tape up – If the holds are particularly sharp then a good tactic is to wrap some decent finger tape (Strappal Dream Tape is excellent for this) around your fingers to work the moves. Once you’ve got them wired, remove the tape and go for the redpoint – skin always grips better than tape so you should cruise it!
- Climb smoothly - Climb like the French and be as smooth and accurate as you can when climbing on sharp rock - slapping wildly for a razor crimp, or cheese-grater sloper is always a recipe for disaster.
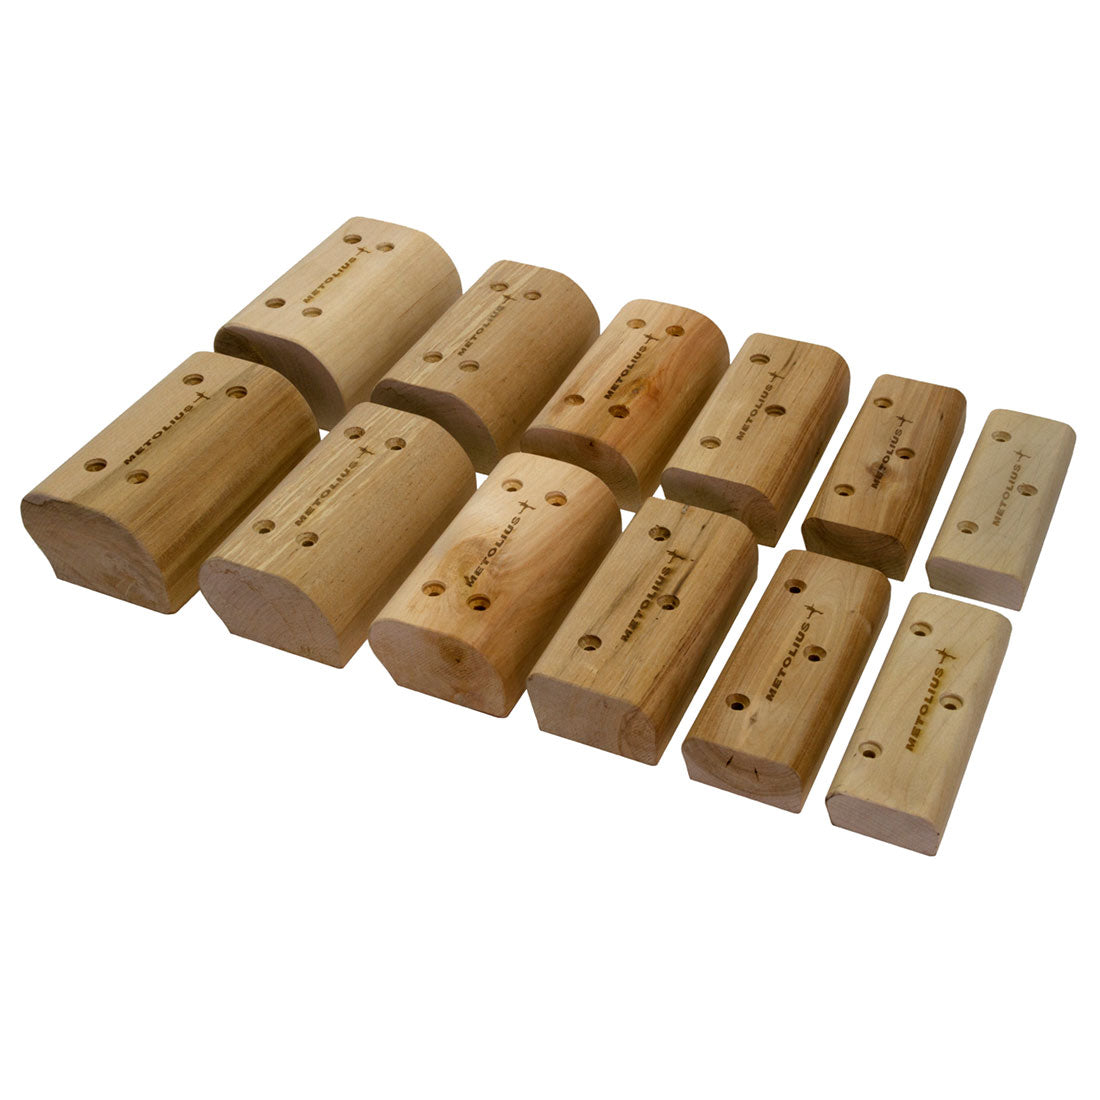
- If you know you’re going to a sharp or rough venue, try and climb on skin friendly surfaces for a few days beforehand to build up a good layer of skin. Wood indoors, and limestone outside are usually best for preserving your skin.
- Know when to stop – Unfortunately this is the bit that takes the most experience and is hardest to get right. It’s always tempting to have one more go – sometimes you get to the top, more often you end up with bloody fingers. Keep an eye on your skin – if it’s getting thin then stop, or at least stick some tape on.
- Once you’ve stopped clean the chalk off your hands and stick on the moisturiser/ Climb On/ miracle potion of your choice, it will help your skin heal faster ready for the next session.
Flappers
Not the jazzing young ladies of the 1920s, but rather less lovely ripped off calluses. I often find that a large amount of indoor climbing on big juggy plastic holds over the winter builds up thick calluses on my fingers. It’s a good idea to gently file these down as they’re very prone to ripping off in one big lump, particularly on cold and windy days, climbing on rough rock. Although they’re usually less of a show stopper than a split tip, they can be painful and take a long time to heal.Healing
I f despite the above advice you get a flapper or split tip then stick a plaster over it until it stops bleeding. When it’s started to heal, gently file down the rough edges and apply the balm/moisturiser of your choice regularly. I’ve found that a small plaster wrapped over with finger tape does a good job of preventing the wound splitting open whilst climbing again. The worst thing to do is to rush back to climbing too soon, which leads to a continual cycle of the wound healing and splitting open again, thereby taking weeks (or months!) to heal. Other than that regular climbing will soon lead to your skin becoming thicker and naturally more resilient, so don’t be too dismayed if you’re skin doesn’t stand up to a full day of gritstone bouldering when you’re just starting out. It will come eventually.