


By Dave Westlake
Here we are again; trying everything we can to improve at climbing without having to get stronger. Hopefully those of you who were lucky enough to catch Part 1 of this series have been able to unleash your new found technique on overhangs everywhere. If you missed it, fear not, as it is still available for free right here. This time, we’re going to look at the flip side and check out the crafty tactics you can employ to master the geometric converse of an overhang: the mighty slab. Here in Devon there is a saying that purports to describe the locals: “Devon born, Devon bred, strong in the arm and thick in the ‘ead”. I believe there is also a Yorkshire version, although obviously the words “in the” are replaced with “in’t”. I’ll abstain from commenting on the truth of this maxim, since I’m from Devon myself and always keen to avoid alienating even a small part of my readership. Besides, my girlfriend comes from Yorkshire and I’m aware of another proverb about a woman scorned. Returning to my point, the saying above does serve the valuable purpose of reflecting the perils of being a strong rather than thoughtful climber where slabs are concerned. It serves as a clear, and rather embarrassing, reminder of my rookie self literally dragging my feet up the wall like a ball and chain.
As I confessed in Part 1 the gods failed to bestow me herculean strength, and looking back to my days as a beginner I recall being even less accomplished in the dark arts of balance and footwork. Thankfully I’ve moved on a bit since then! Slab climbing is a great leveler, and a day on the slabs can see even the scrawniest of weaklings dance their way elegantly to the top of some very hard climbs. If old timer trad climbers ever show the youngsters up, it’s usually on the slabs. This is probably because the balance oriented, trust-in-your-feet style that slabs demand tends to develop with experience; the more often you stick a marginal smear, the more ingrained the process becomes and the more confident you are next time. With this in mind, I can’t think of a single reason to delay mastering the basics and starting to get the vital practice in.
Careful foot placement - low heels and precision

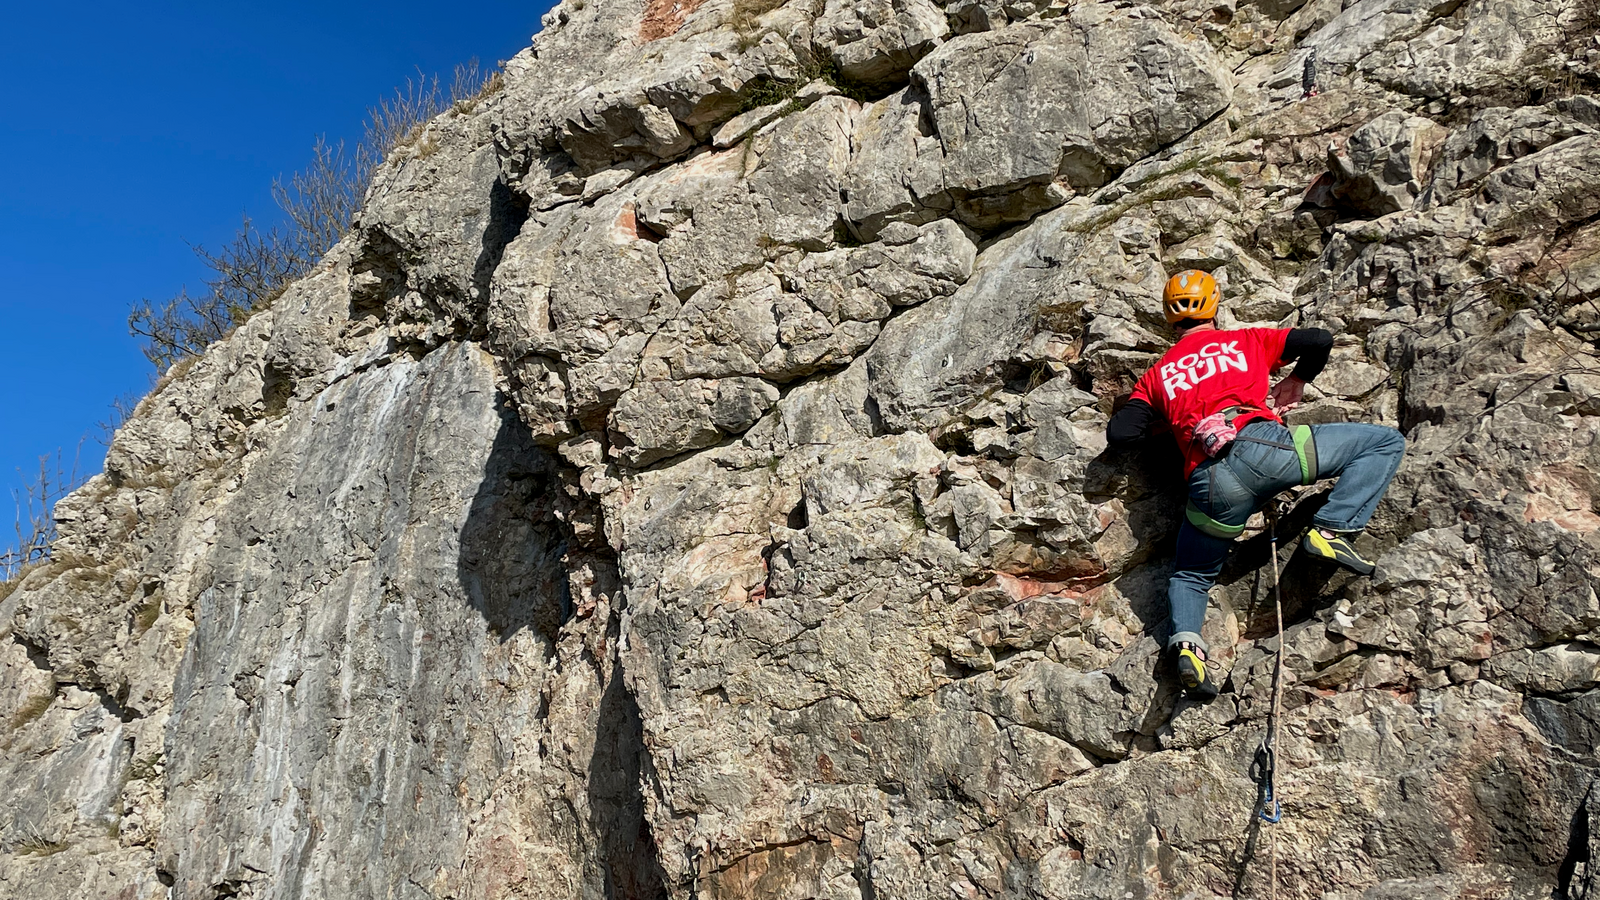
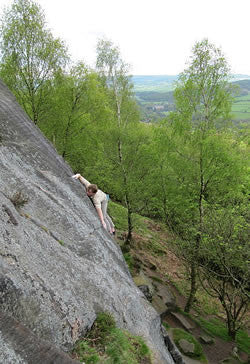
The first piece of advice is one of the most important, and it relates to how your foot should be placed on footholds. Since your feet should be taking most of your weight it makes sense to look at how they are positioned. They will likely be doing a mixture of edging and smearing. For edging, the key is to ensure the edge of your shoe is placed in the optimal part of the foothold. Sometimes this will mean aligning the outside edge of the shoe along wide edges, or perhaps pressing the point of the toe into a small pocket. Whatever kind of foothold you are stepping on, it is imperative to place your feet precisely, taking time to make sure they’re exactly where you want them. Somewhere near the foothold will not cut the mustard, especially on harder climbs. Below: The author climbing the Froggatt classic, Great Slab (E3).
Photo inset: Matt Balmer.
Smearing - where you utilise the friction of the rock to gain purchase is particularly common on slabs. The theory behind it is simple: since the amount of grip that you are going to obtain is directly proportionate to the amount of surface area in contact with the rock, you should be aiming to maximise this and get as much of the sole of your forefoot pressing against the wall as possible. The best way of ensuring you do this is to keep your heels low. Another important factor in getting your feet in the correct positions is flexibility. Obviously, you cannot use a foothold (or handhold for that matter) that you can’t gain traction on. Therefore the greater range of movement you have the better – and slab climbs are riddled with high steps and awkward stretches. This also comes with practice, but it is possible to hurry the process along by doing regular stretches and focussing on high steps and rock-over moves at the wall.
Correct weighting of the foot - confident commitment
The next nugget of wisdom, like much of climbing and life more generally, is all about confidence. With your heel low and a good portion of your forefoot in contact with the wall, you need to commit your weight to it for it to stick. If you weight it properly and fully commit, it will not slip. It will slip if you are tentative or half hearted in weighting your foot, so weight it confidently. Unfortunately this is easier said than done, even for experienced slab-meisters, as it is often difficult to commit your weight onto footholds that feel unlikely from the starting position. The best way to get this wired, and your confidence levels soaring, is to practice weighting a lot of different types of foothold. When your foot slips, as it inevitably will on some holds, assess what went wrong or ask others why they thought it failed. Some people find that very tight shoes can hinder the bend in the foot so keeping a looser pair for smearing can often pay dividends, allowing you to press onto a large surface area of rubber.
Rest on your heels
A common occurrence in slab climbing is pumped calf muscles – just like the pump you get in your forearms when climbing steep routes. The more slabs you do the stronger your legs will become, Look mum no hands! Note the low heels. but the first few slabs of the season are always tough since it is difficult to train this muscle effectively. You may have managed to find cheeky resting positions on steeper climbs – perhaps leaning into a slight groove or bridging across wide footholds to give temporary respite to your aching forearms. These are great, and an excellent alternative to getting fitter (not that this is a bad thing to aspire to either). If only it was possible to relieve my aching legs on slab climbs, I hear you cry. Well, here’s some more good news. Although a big, blank slab may appear at first glance to have no hiding places for pumped calf muscles, there are things you can do to gain a bit of recovery time. A useful trick to remember if you’re out of shape, and for longer slab routes, is that you can sometimes stick a heel on and take the weight off your calves. This tactic has got me up countless tricky slab routes, most memorably saving me from terminal leg-pump on the long and sustained Creeping Flesh at Smoothlands in Devon a few years ago. The heel trick is simple; place the heel of your foot on a hold and point the toe downwards and away from the wall. Lean into the slab and feel the bone take the weight, allowing you to shake the lactic acid from the other leg and giving the muscle some valuable recovery time.
Use your hands like they are feet
You may remember the reverse of this piece of advice from the last article; using your feet like a pair of hands can work wonders on overhanging climbs. Well, the opposite is also true and never more so than on slabs.
Classics to try
- Midnight Cowboy (HVS 5a), Baggy Point, Devon: A great multi-pitch adventure that follows the conspicuous overlap on the main slab. For extra excitement, and when the tide is in, the central pitch can be accessed via the first pitch of Kinkyboots (VS 4c). The overlap is a great time to have confidence in your slab technique, as the footholds are mostly flat smears.
- Wall End Slab (VS 4b), Stanage Plantation, Peak District: A great tick for the VS leader at a great crag. There are many similar opportunities nearby, both easier and harder, but this one stands out as a true test of smearing ability and nerve. The slab itself is a pretty amazing feature too!
- Lakeland Cragsman (HVS 5a), Sergeant Crag Slabs, Lake District: Another fine pitch at a stunning crag, this route is a mix of slab and crack climbing. The rock is immaculate and the length (45 metres) will give you plenty of time to try resting on your heels.
- Bow-Shaped Slab (HS 4a), Flimston Bay, Pembroke: An absorbing and amenable slab that takes in some incredible positions. Good for getting used to a bit of sea cliff exposure while you hone your slab skills.
- La Marie Rose (Font 6A), Bas Cuvier, Fontainbleau: The original 6A in Fontainebleau, and always a challenge, this one is a must-do for any aspiring slab happy boulderer.